Daniel Flefil
October 26, 2019 · 8 min read
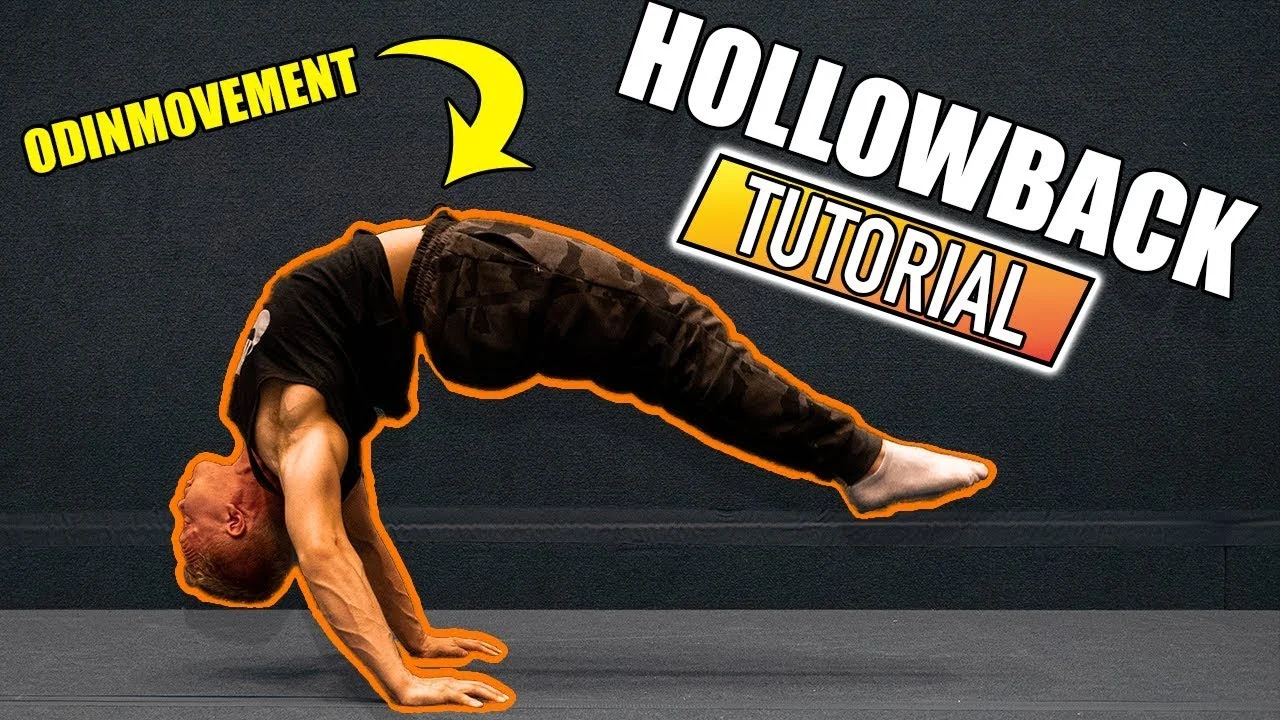
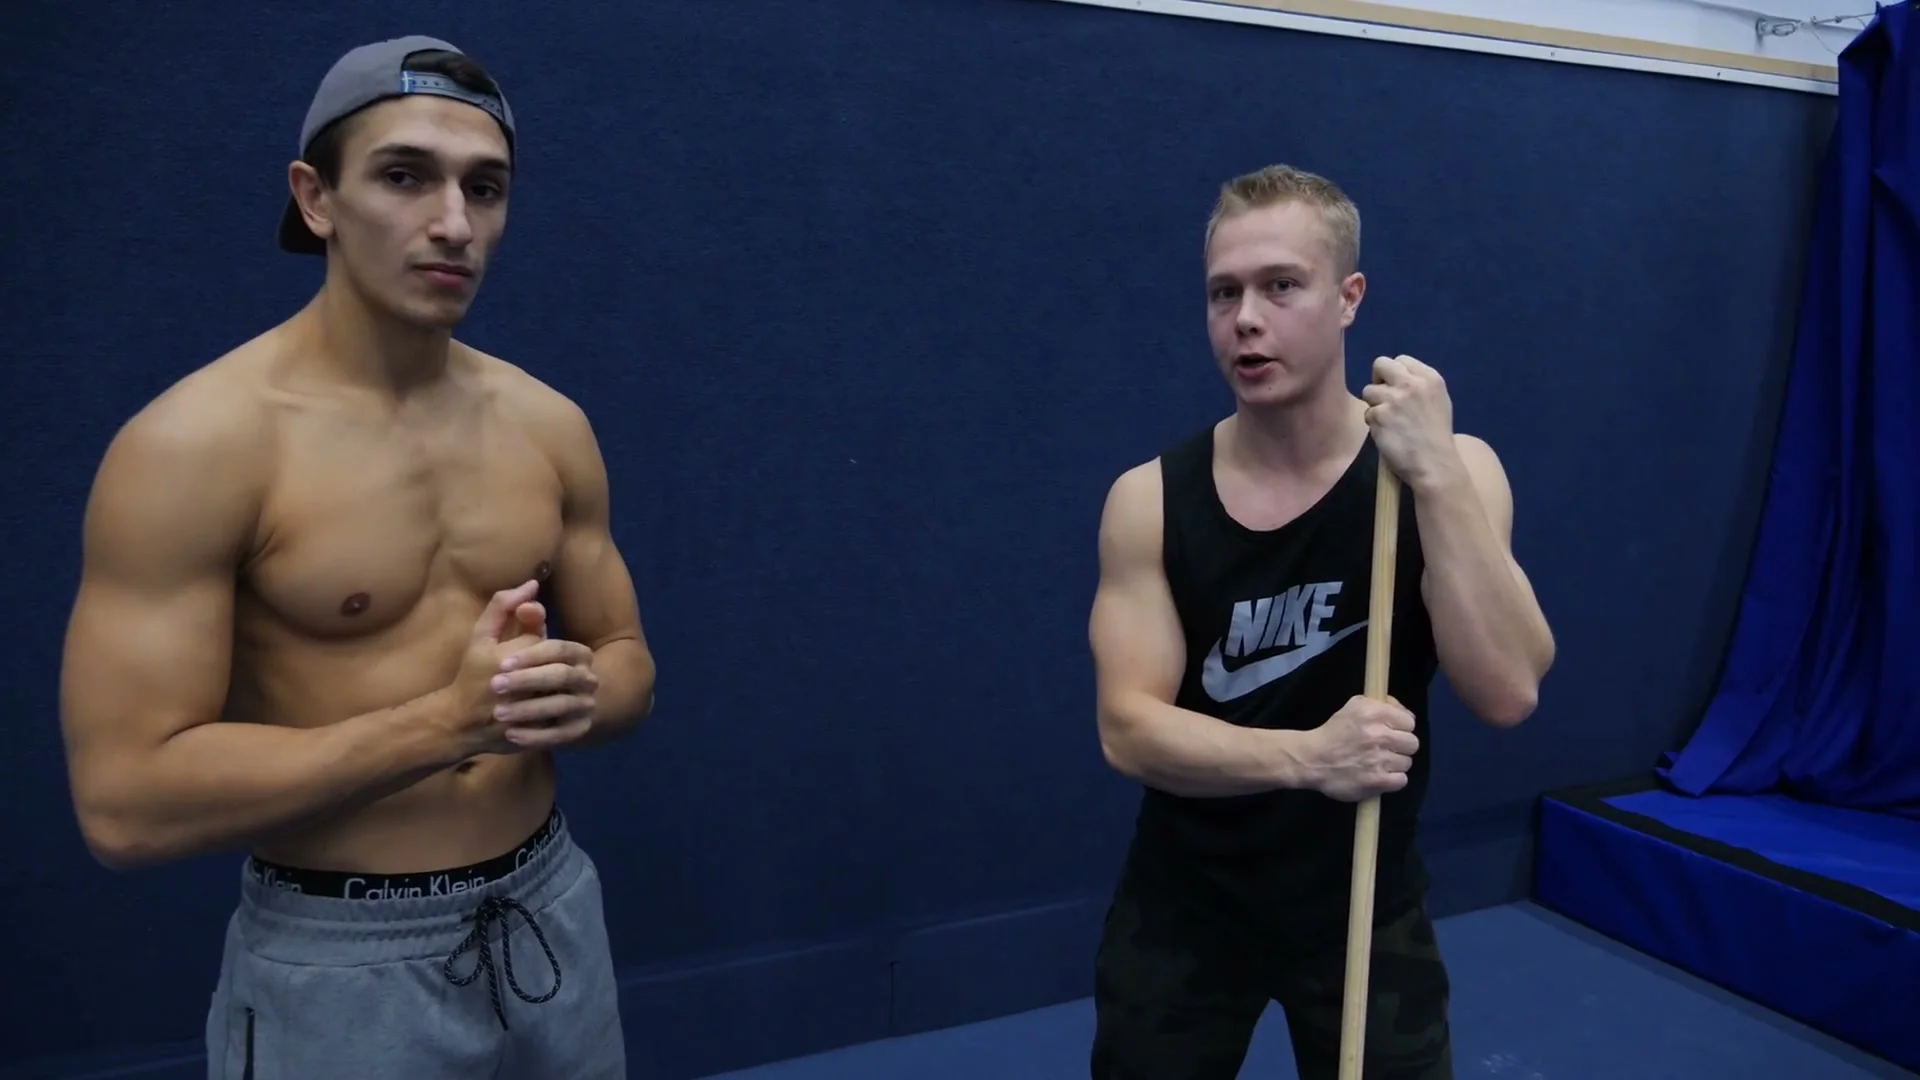
In this tutorial I train with Otto Vainio, known online as OdinMovement, a Finnish calisthenics and parkour athlete who specializes in one-arm handstands and hollowback skills. Otto teaches the three exercises he uses to build the hollowback, covers what the movement actually requires (hint: it is more about upper back strength than lower back flexibility), and explains how often to train it and how long it takes to see results. I also attempt the bridge live, so you can see exactly what tightness looks like and what to fix. By the end, you will have three concrete exercises and a clear understanding of what the hollowback actually demands.
Watch the Full Tutorial
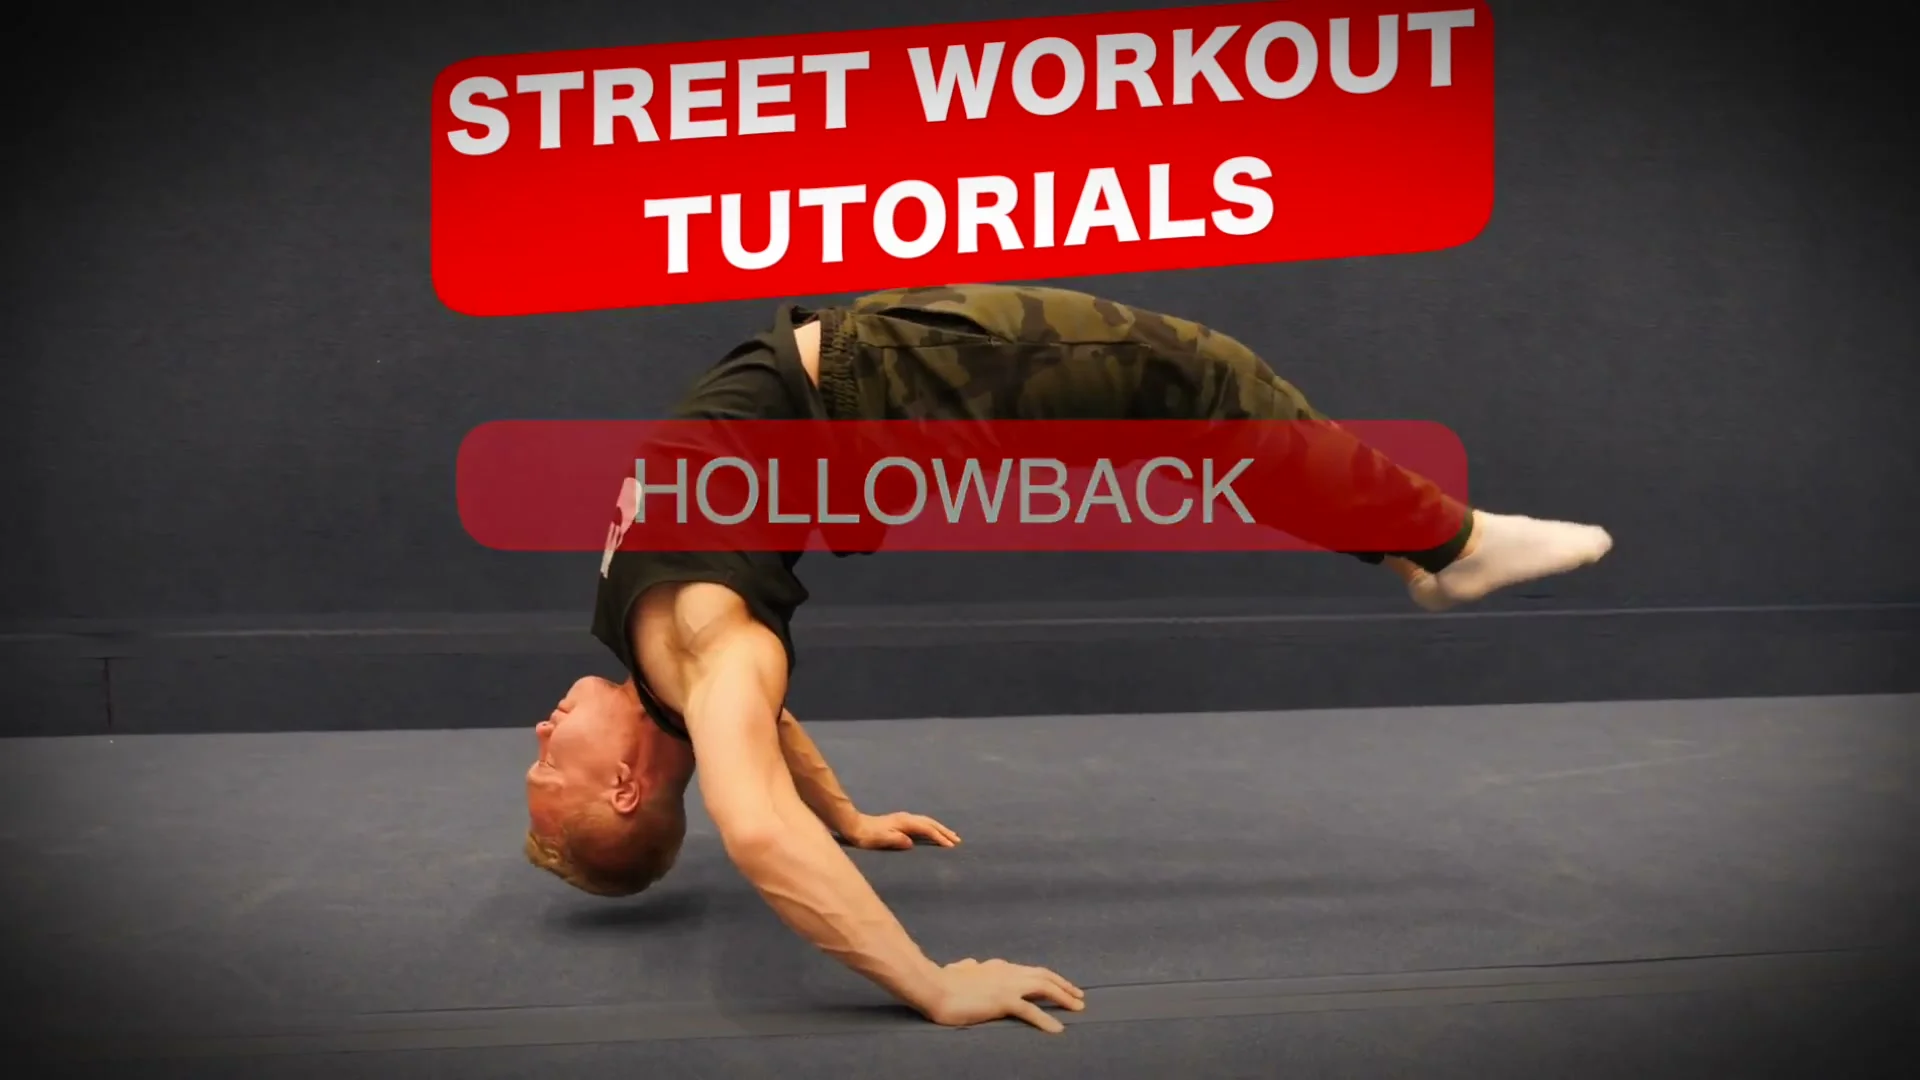
What Is the Hollowback?
The hollowback is a calisthenics static hold where the athlete is in a handstand and bends the spine deeply backward, bringing the legs behind and often over the head. The spine arches, the shoulders are in extreme flexion, and the entire position is controlled from the upper back and shoulders rather than the lower back. It is an advanced gymnastic and calisthenics skill that sits well above a standard handstand in terms of complexity.
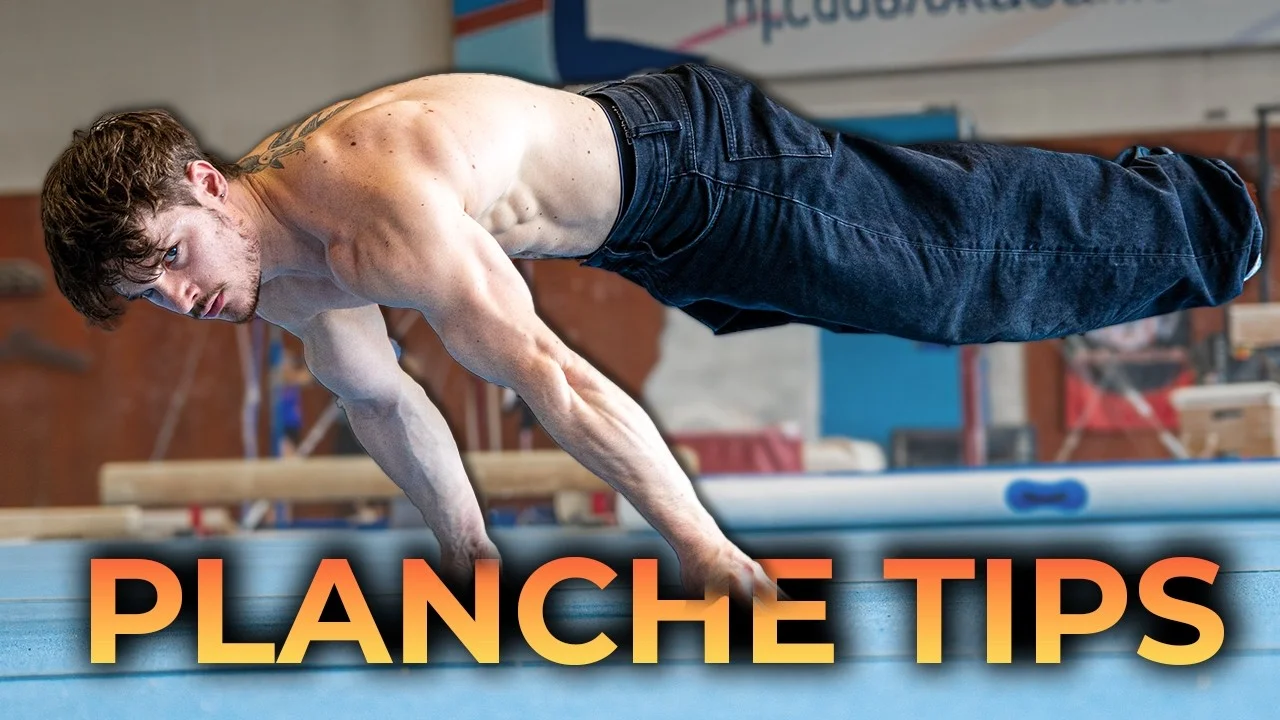
The hollowback is popular in freestyle calisthenics and handstand disciplines because of how visually striking the position is. The body curves into a deep arch while remaining inverted and balanced. The skill trains upper back strength, scapular control, and shoulder flexibility to a degree that most athletes have not approached before starting to learn it. It also complements other advanced static skills like the planche.
According to Otto, the common assumption is that the hollowback is a lower back mobility skill. He disagrees. The focus is the upper back: specifically the ability to squeeze the scapulas together and push the head through the shoulders in the inverted position. Lower back flexibility helps, but the limiting factor for most athletes is upper back strength and shoulder flexion.
Prerequisites
A solid handstand is the prerequisite Otto names before any hollowback training begins. Without a consistent freestanding handstand, the hollowback cannot be practiced safely or meaningfully. The position starts from inverted, so all the hollowback-specific work builds on top of existing handstand competency.
Otto started with parkour around age 10 and spent years on general calisthenics before focusing seriously on handstand and hollowback skills. He has trained calisthenics specifically for three to four years. One-arm handstands are his primary skill. His hollowback came as part of that handstand-heavy training background.
Specific standards before starting:
- Freestanding handstand (consistent hold for 10 seconds minimum)
- Basic shoulder mobility for bridge position
- No acute lower back issues
Technique: What the Hollowback Actually Requires
Two physical qualities define the hollowback. Understanding both changes how you train for it.
The first is scapular retraction and strength. The shoulder blades must squeeze together forcefully throughout the hold. This is not a passive stretch. Otto says the most important single cue is squeezing the scapulas together as hard as possible. Athletes who treat the hollowback as a flexibility exercise and stop contracting the upper back will never get the position stable. The squeeze is constant. Squeezing the glutes simultaneously protects the lower back by keeping the lumbar in a better position under load.
The second is shoulder flexion. Shoulder flexion in this context means the ability to bring the arms fully back behind the head while keeping them extended. In the bridge position, this shows as the ability to push the head through the shoulders so the ears align with or pass the upper arms. Most people, as I experienced during the bridge attempt in the video, lack the shoulder flexion and the upper back strength to hold that extended arm position. Turning the hands slightly inwards (thumbs pointing toward each other rather than fully outward) helps access more scapular activation and is something Otto noticed from watching other athletes who had the skill.
Key Takeaway
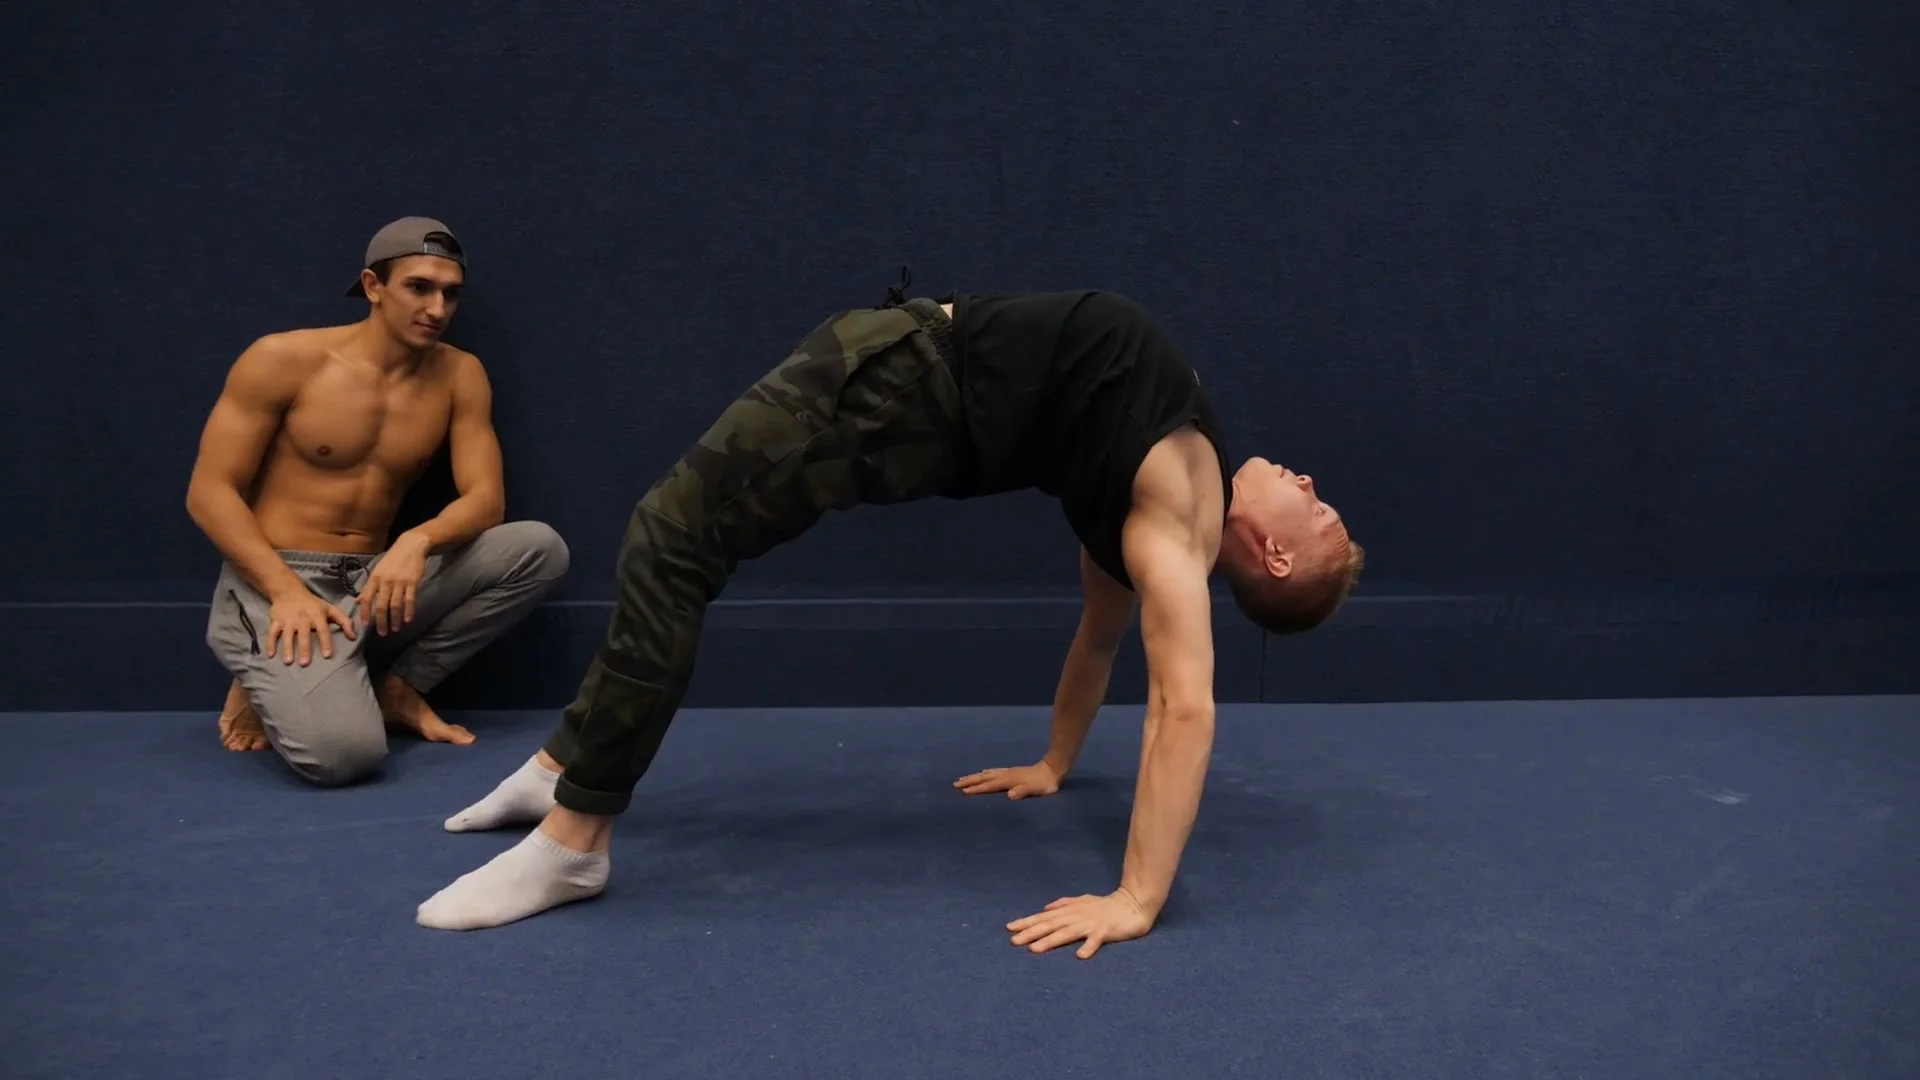
Exercise 1: Bridge
The bridge is the first exercise and the most accessible entry point for hollowback training. Get into a standard floor bridge (hands and feet on the ground, hips lifted). From there, push the head through the shoulders as far as possible. The ears should move toward alignment with the upper arms. Legs can extend to add difficulty once the shoulder position is established.
The technique detail Otto emphasizes: do not just relax into the bridge. Squeeze the shoulder blades together while in the position. The method Otto uses is 10 seconds of squeezing hard, then releasing slightly for five seconds to let the position deepen, then squeezing hard again. This contract-relax pattern builds both strength and range in the same session. Squeezing the glutes throughout keeps the lower back safer and makes the upper back the primary focus.
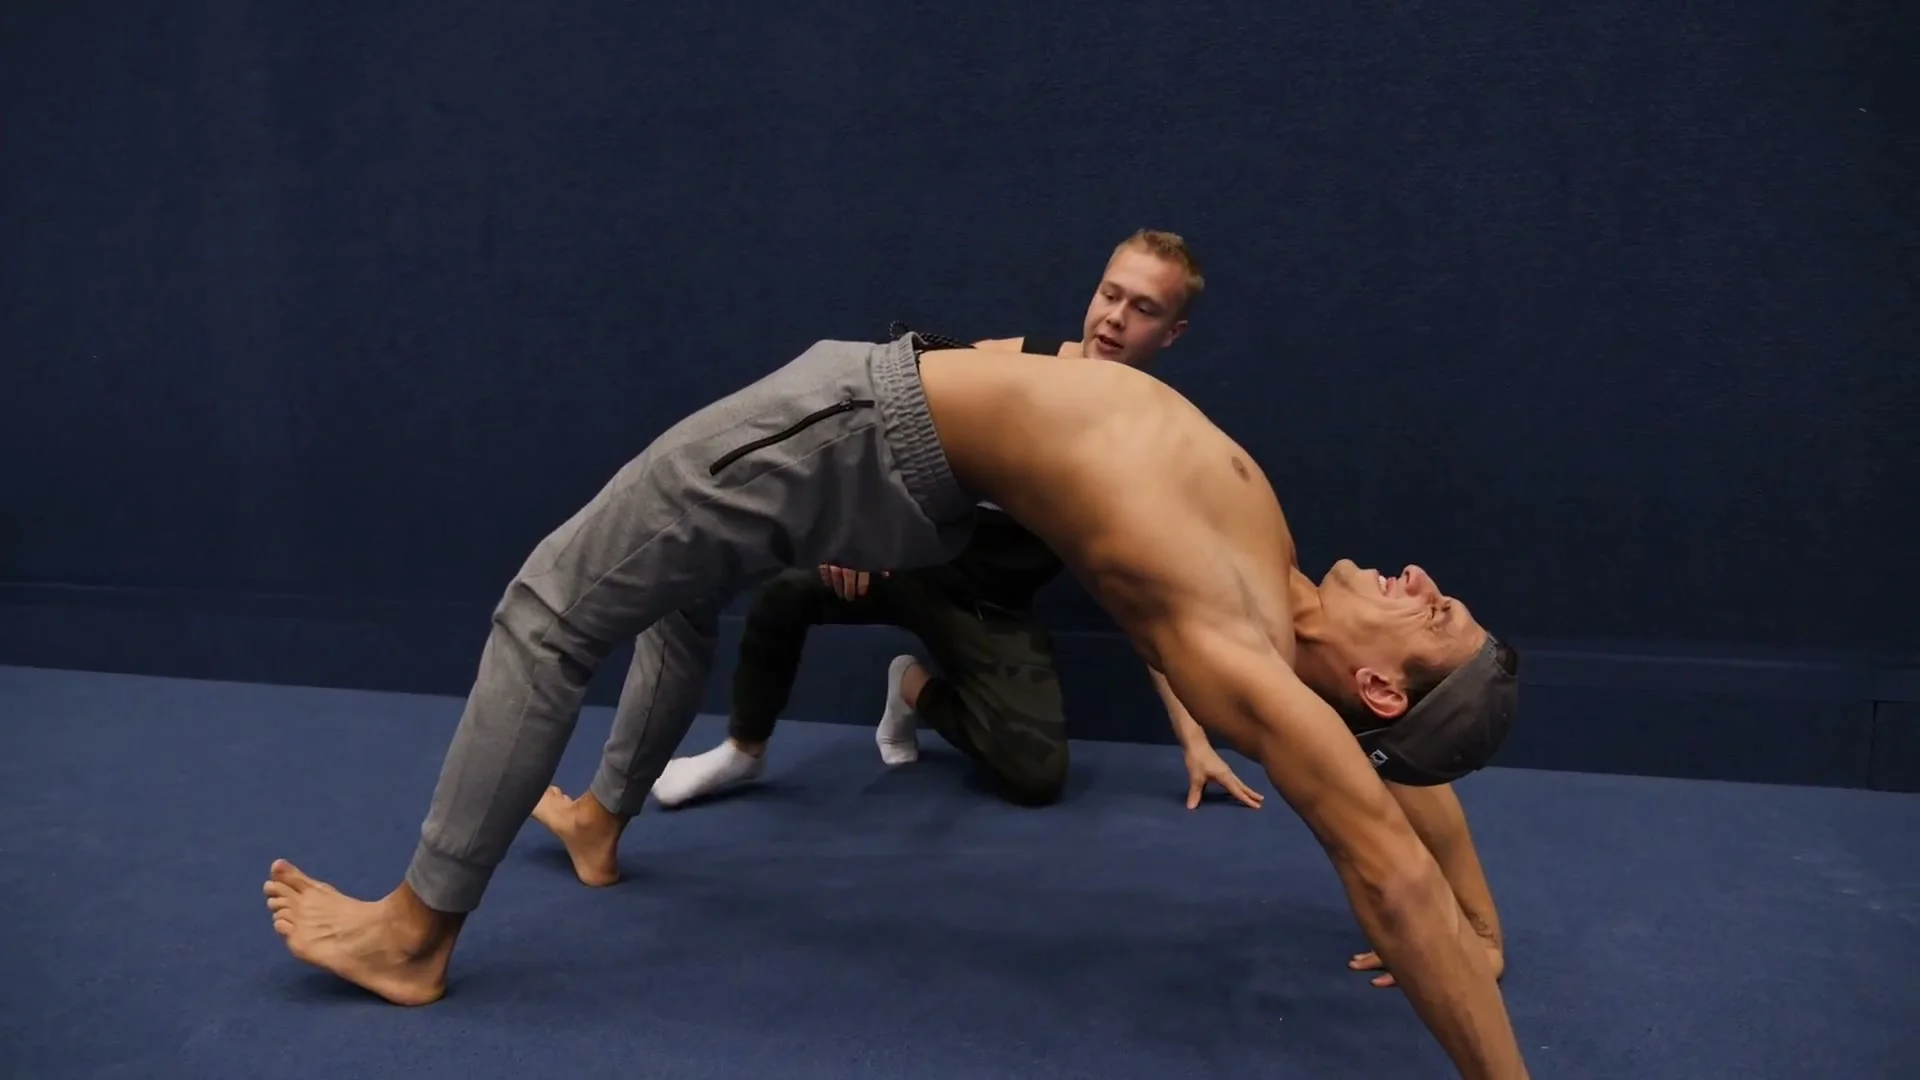
The bridge also diagnoses exactly what is lacking. If the head cannot reach the shoulders, shoulder flexion is the limiting factor. If the arms shake or cannot support the position, upper back strength needs work. Both are fixed by consistent bridge practice before moving to the other exercises.
When to progress
Progress when the bridge with head through shoulders and legs extended can be held for 10 seconds with consistent scapular squeeze, controlled breathing, and no excessive lower back sensation.
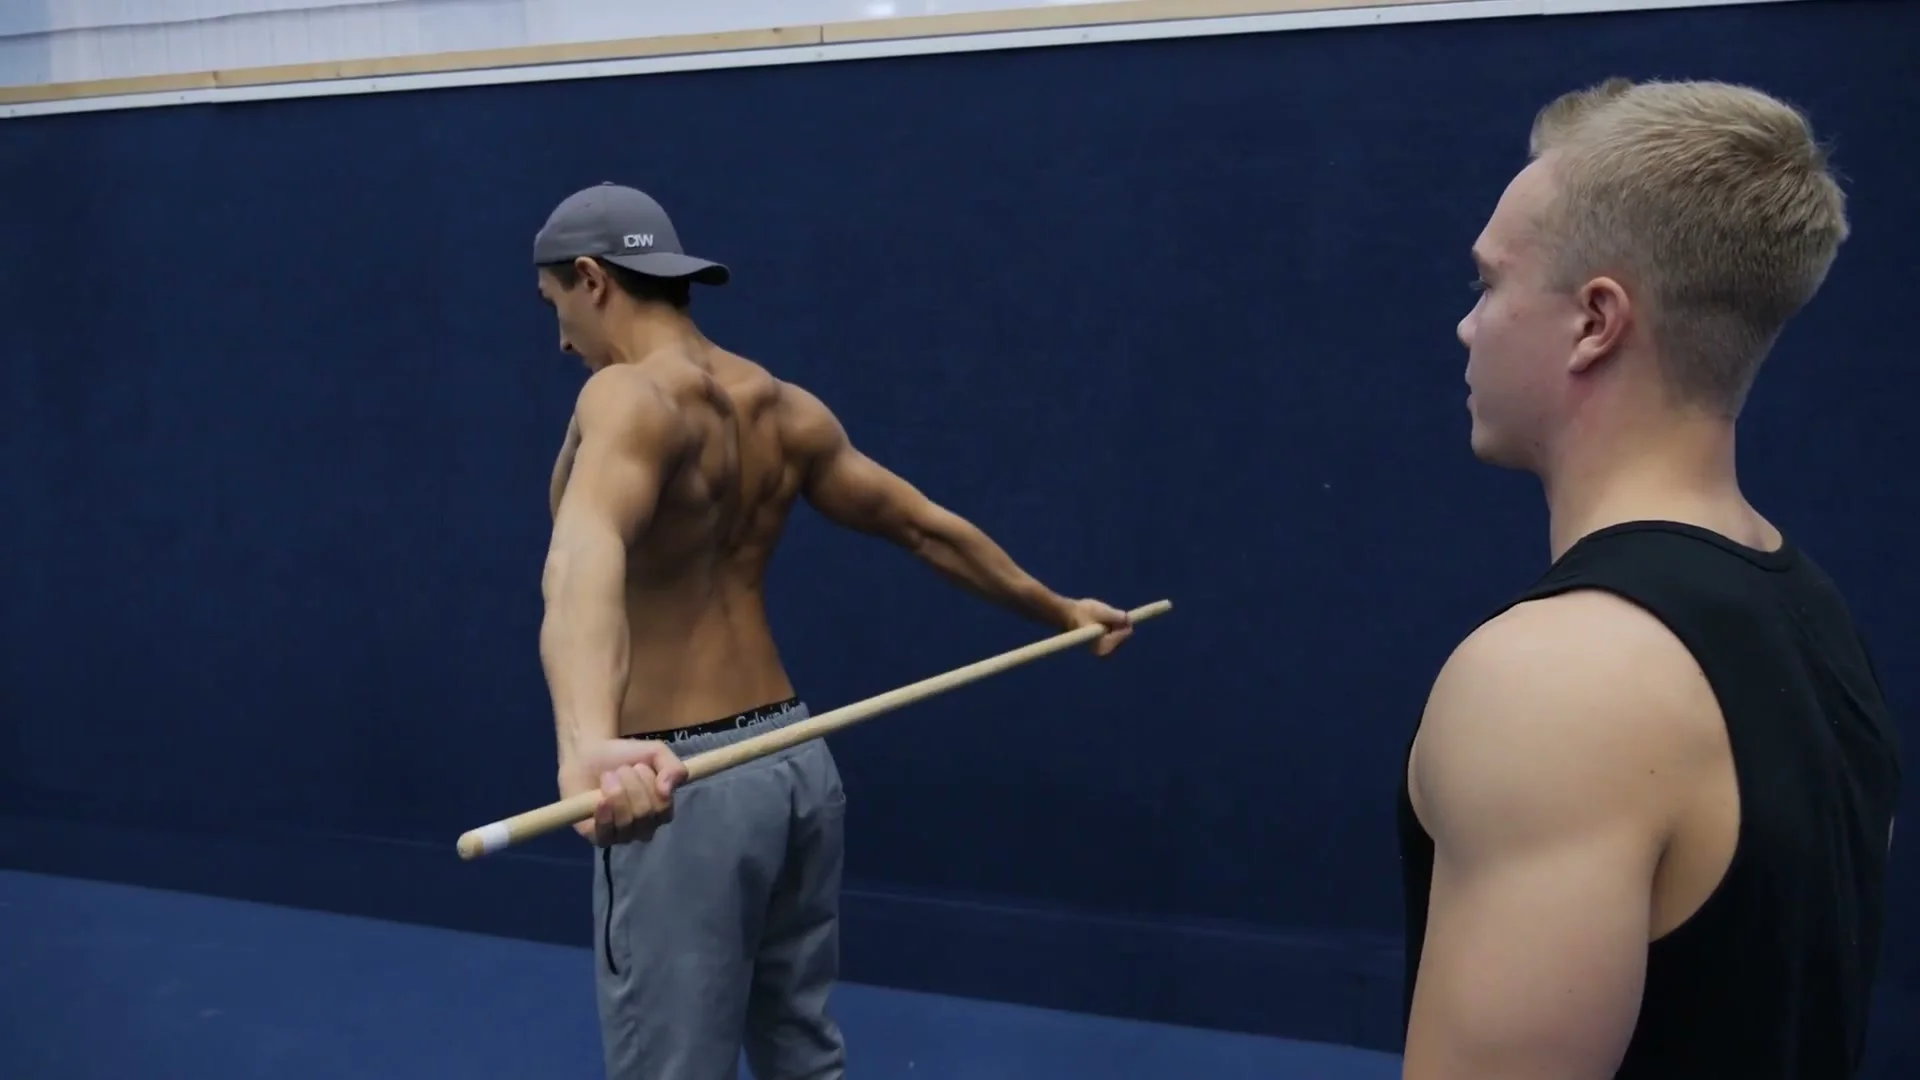
Exercise 2: Shoulder Dislocates With a Stick
The shoulder dislocate uses a stick, a towel, or any rigid or semi-rigid object that can be gripped with both hands. Hold the stick with a wide grip in front of the body, arms straight, and bring it over the head and all the way behind the body in a slow arc. Then bring it back to the front. This is the shoulder dislocate movement.
The specific technique Otto emphasizes: do it with both an arched back and a stiff back. The arched version is easier and trains the range. The stiff back version restricts spinal compensation and forces the shoulder joint to carry more of the load, which is exactly what hollowback training requires. Many people can do shoulder dislocates with a bent spine but cannot maintain the position when the spine is neutral. Both versions are worth training, but the stiff back version is where the hollowback-specific adaptation happens.
Grip width varies. Start wide enough to complete the range, then gradually narrow over sessions as the shoulder flexion improves. The grip can also be widened if flexibility is limited. The goal is always to maintain a full arm extension throughout the arc.
Exercise 3: Peg Stretch Against the Wall
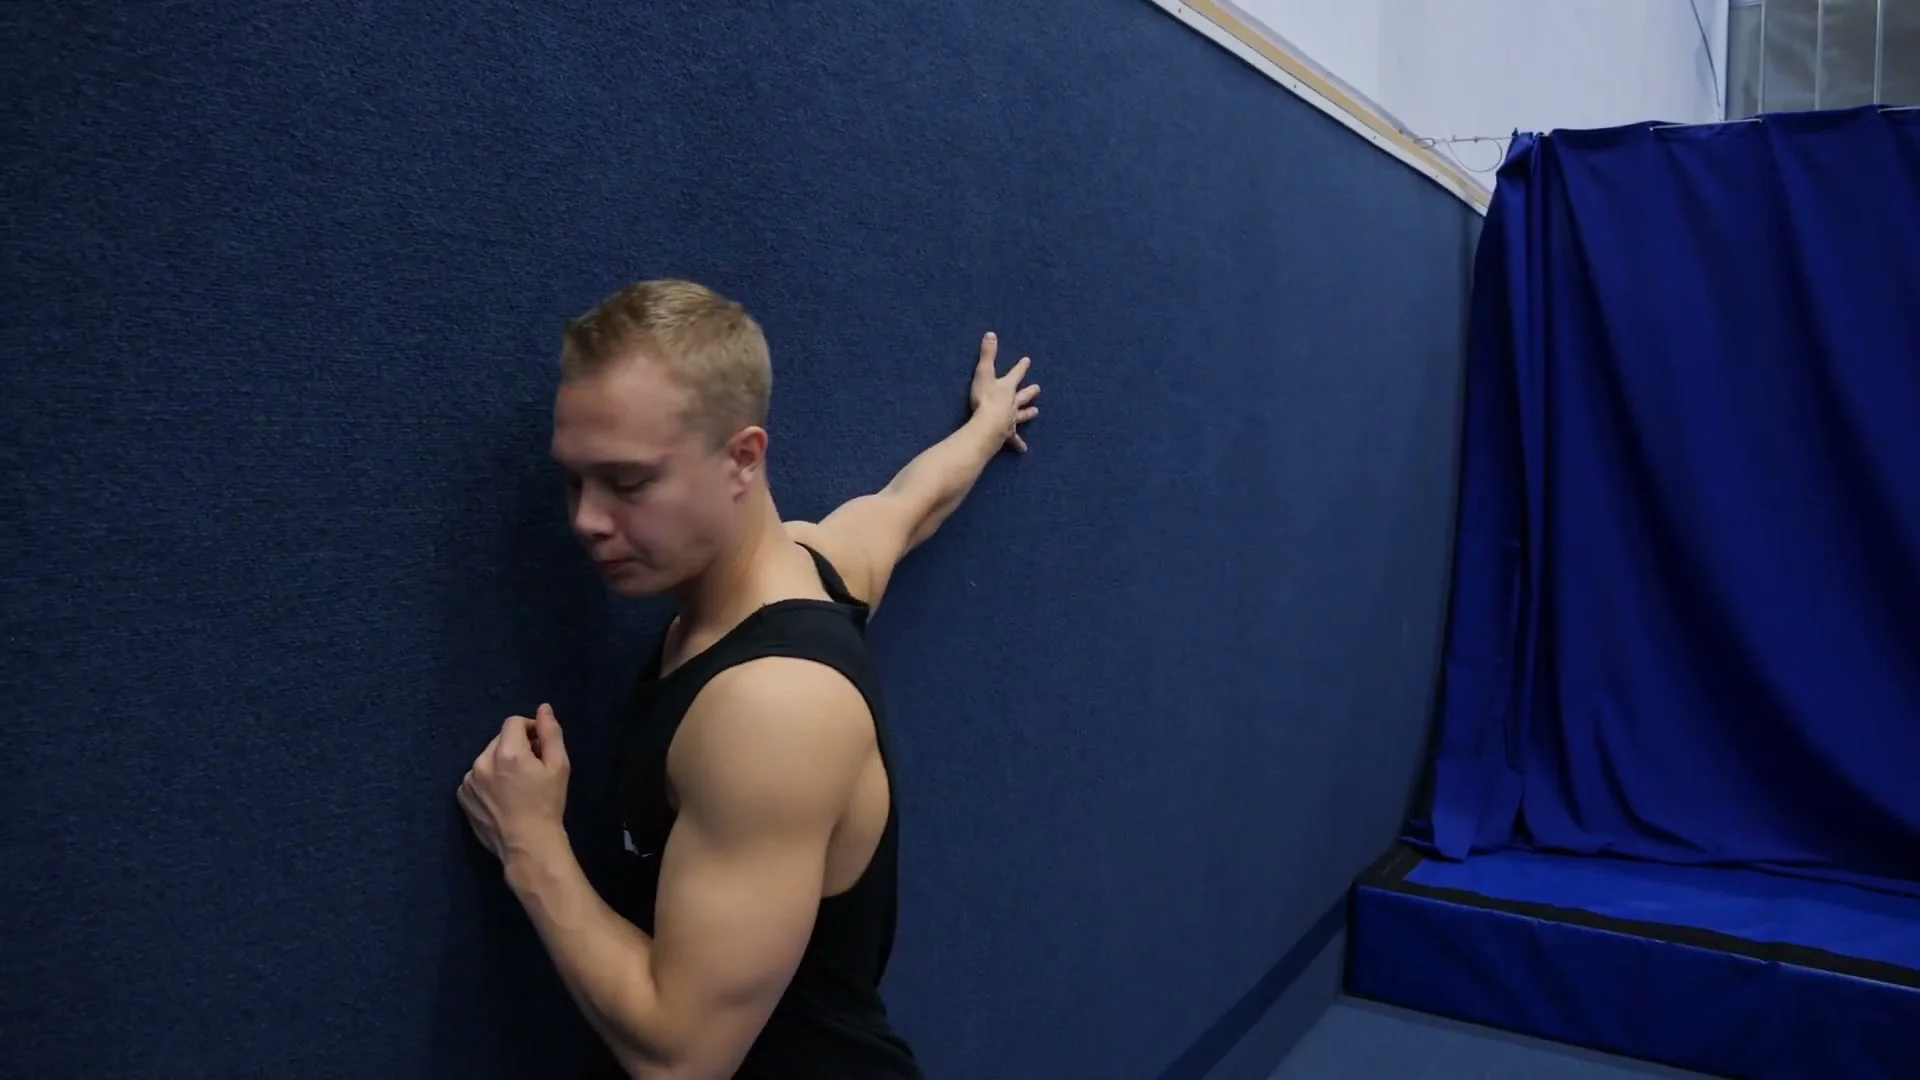
The peg stretch is a loaded shoulder stretch against a wall. Stand beside the wall, place one arm against it with the shoulder close to the wall, and slide the arm upward. Feel the tension build in the upper back and shoulder area. That tension is the shoulder flexion range the hollowback requires.
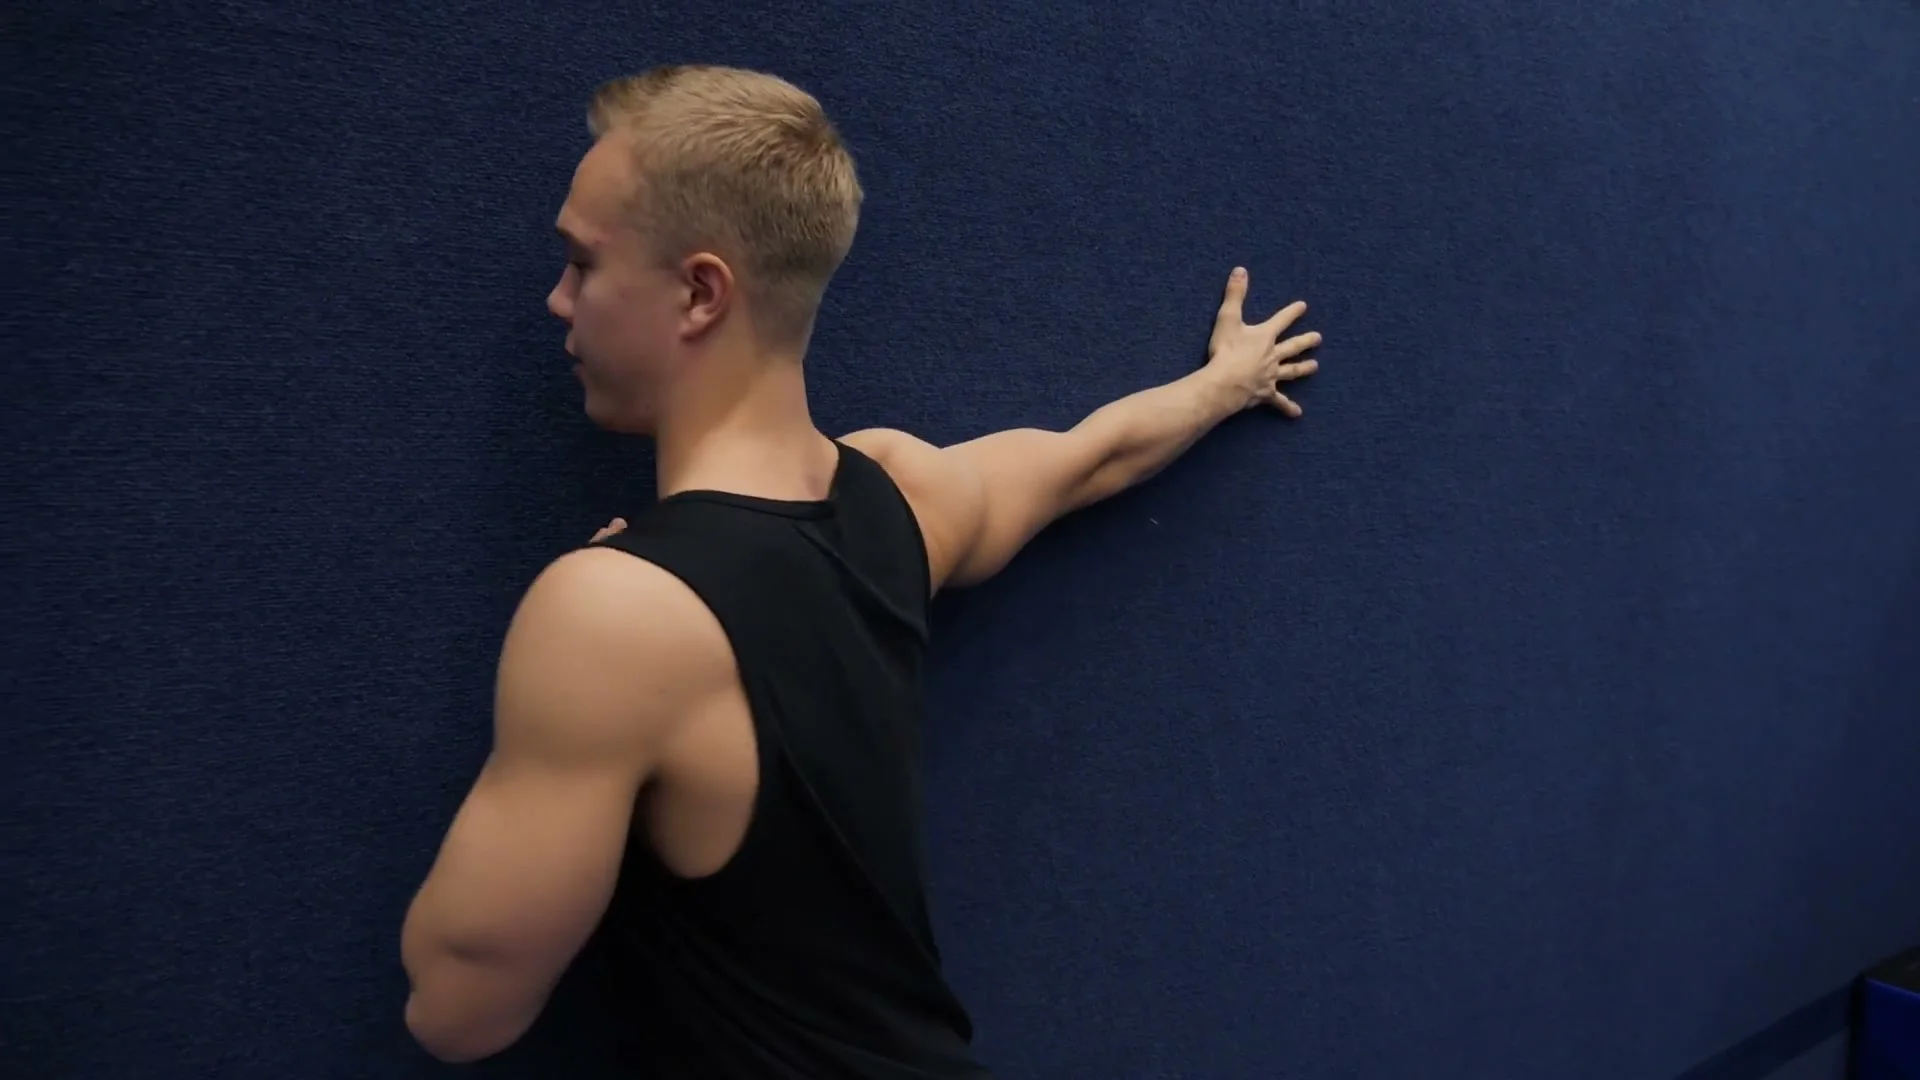
The height of the arm changes which part of the shoulder and upper back is loaded. Higher arm position targets the chest-side of the shoulder more. Lower arm position targets the rear shoulder and upper back more. Otto recommends working all angles rather than one fixed position. Find the angle that feels most restricted and spend extra time there.
The same contract-relax approach from the bridge applies here: squeeze for 10 seconds at a position where the stretch is challenging, release slightly for five seconds and let the arm move deeper into the stretch, then squeeze again.
The bonus variation Otto adds at the end: instead of just pressing the arm against the wall, try to lift the hand slightly away from the wall. The effort to lift activates the exact back muscles the hollowback position requires. Even a centimeter of lift is sufficient. The effort is what matters. I tried this during the session and immediately felt muscles I had never consciously used before. Otto described it as the back muscles he focuses on specifically for hollowback control.
Training Tips
Otto trained the hollowback every day when he was actively building it. His current recommendation for most athletes is three sessions per week. This allows enough recovery between sessions while still providing frequent enough practice to build both the strength and the flexibility components.
Other skills can be trained in the same period, but the pulling and pushing volume should be reduced. The bridge, shoulder dislocates, and peg stretch all load the shoulders in a direction that is different from standard push-pull work, but combining full-volume pushing and pulling with hollowback training is likely to overload the shoulder joint. Keep total shoulder volume manageable and prioritize the hollowback work if that is the current focus.
The 10-second contract, five-second relax, deepen approach applies to both the bridge and the peg stretch. Use it in every session. The contract phase builds strength, the relax phase builds range, and the combination in a single set is more efficient than separating strength work and flexibility work.
On hand position during the hollowback: Otto noticed that athletes who had the skill tended to have their hands turned slightly inward. Thumbs angled toward each other rather than pointing fully outward. When he applied this himself, it made a significant difference in how well he could activate the scapular muscles. This is worth experimenting with in the bridge and peg stretch to see if it changes the feeling of the exercises.
Frequently Asked Questions About the Hollowback
How long does it take to learn the hollowback?
Otto took one year from starting hollowback training to having a solid hollowback. That assumes consistent practice without the specific shoulder flexibility base already in place. If the shoulder flexibility is already good from gymnastics, handstands, or other training, three months is a more realistic timeline. The single biggest factor is consistency of the three exercises.
Do I need a held handstand before training the hollowback?
Yes. Otto specifically names a solid handstand as the prerequisite for hollowback training. The hollowback starts from the inverted position, so the handstand base is the foundation the hollowback-specific exercises build on. If the handstand is not yet consistent, that is where the training focus should be.
Is the hollowback a lower back flexibility exercise?
Not primarily. Otto is direct about this: most people think it is a lower back skill, but it is mostly upper back. The ability to squeeze the shoulder blades together and maintain shoulder flexion under load is the limiting factor for most athletes. Lower back needs to be in good condition, but the training focus is the upper back.
Can I train the hollowback alongside other calisthenics skills?
Yes, but with reduced pushing and pulling volume. The shoulder is the common structure, and combining full-volume pressing, pulling, and hollowback training in the same period will likely lead to overloading. Otto's recommendation is to keep total shoulder workload manageable and prioritize which direction you want to develop during a given training block.
What is the contract-relax method Otto uses?
It is a technique for combining strength and flexibility work in a single set. Squeeze as hard as possible for 10 seconds, then release the contraction for five seconds and let the position deepen slightly, then squeeze again for 10 seconds. This cycle builds strength in the range you are training and improves flexibility simultaneously. It applies to the bridge and the peg stretch.
What does turning the hands inward do for the hollowback?
Turning the hands slightly inward so the thumbs angle toward each other rather than pointing fully outward changes the mechanics of shoulder blade activation. Otto noticed this pattern in athletes who had the hollowback and confirmed through his own experience that it made scapular squeezing easier to feel and sustain. It is worth testing in the bridge and peg stretch positions to see if it changes how the back muscles activate.
Is the hollowback dangerous for the lower back?
The lower back is under load during the hollowback. The risk is reduced by keeping the glutes squeezed throughout every exercise and hold, which limits excessive lumbar hyperextension and distributes the load into the muscles rather than the spinal joints. Athletes with existing lower back issues should consult a medical professional before starting hollowback training. For athletes without lower back problems, the training approach described here is consistent with how the skill is taught by specialists.
Daniel Flefil
Calisthenics coach with 11 years of experience, co-founder of Calixpert, and organizer of Beast of the Barz, one of the world's largest calisthenics competitions. Based in Stockholm. I write about training, equipment, and everything that goes into building a serious calisthenics practice.
More about Daniel →