Daniel Flefil
March 16, 2019 · 6 min read
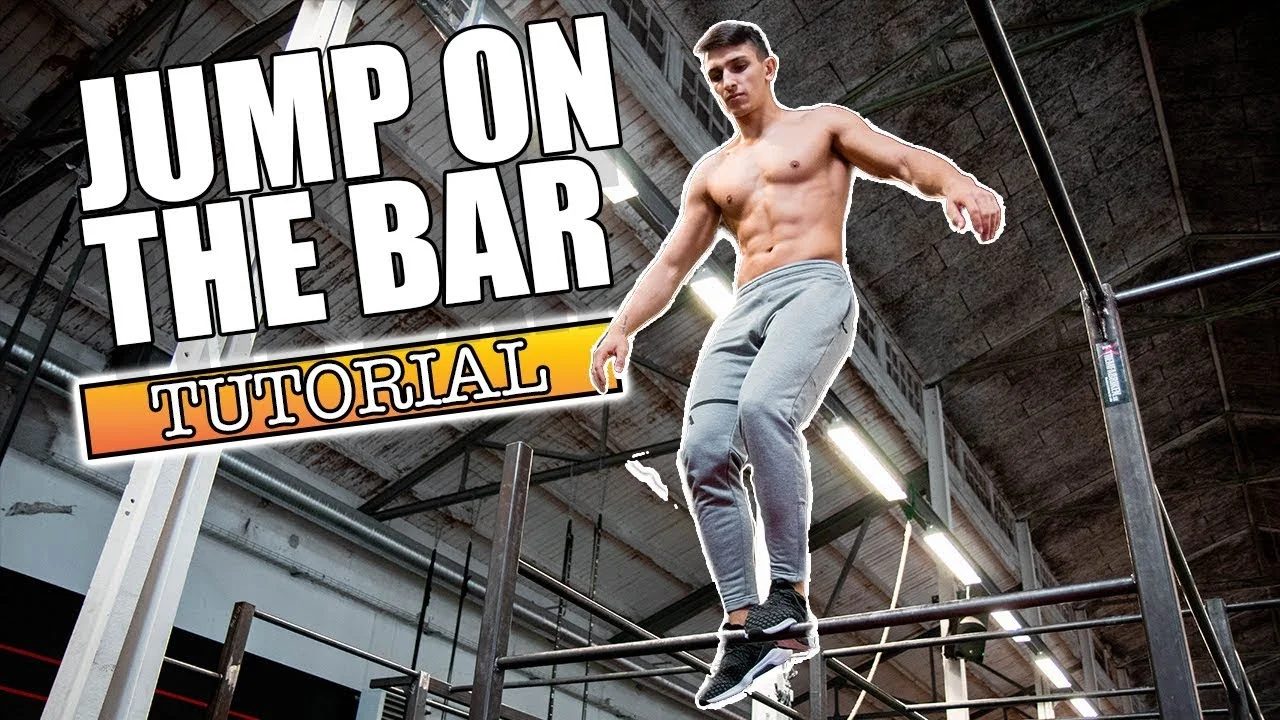
Jumping on the bar and standing on top of it is one of the foundational skills in street workout freestyle. It looks simple from the outside, but the first time you try it on a high bar the height feels significant and the urge to hesitate at the top is real. This tutorial covers four clear steps that take you from a low bar with both hands gripping it, through one-leg and both-leg progressions, up to standing fully on top of the bar. The skill fits at the beginner level and it shows up in a lot of freestyle combinations as both an entry move and a transition. By the end, you will have a step-by-step plan that makes the high bar version approachable without rushing the progression.
Watch the Full Tutorial
What Is the Jump on the Bar?
The jump on the bar, also called a bar stand or bar jump, is a movement where the athlete begins below the bar and ends standing on top of it with both feet. From there, you can dismount back down by bending the knees, grabbing the bar on the way down, or continue into the next skill in a combination.
It is one of the first freestyle skills most street workout athletes learn, because it introduces the idea of being above the bar rather than hanging below it. The height requirement makes it feel challenging for beginners, but the movement itself is straightforward when broken into steps. The main technical challenge is confidence rather than strength or coordination.
Prerequisites
This skill requires basic jump ability and the confidence to get your hands above your head. No specific strength standards apply. You should be comfortable jumping and catching a bar from below, and have done basic hanging exercises so gripping under load is not new. If the bar you are working on is so high you cannot reach it without running or jumping from significant height, start on a lower bar first.
Technique: Key Points Before You Start
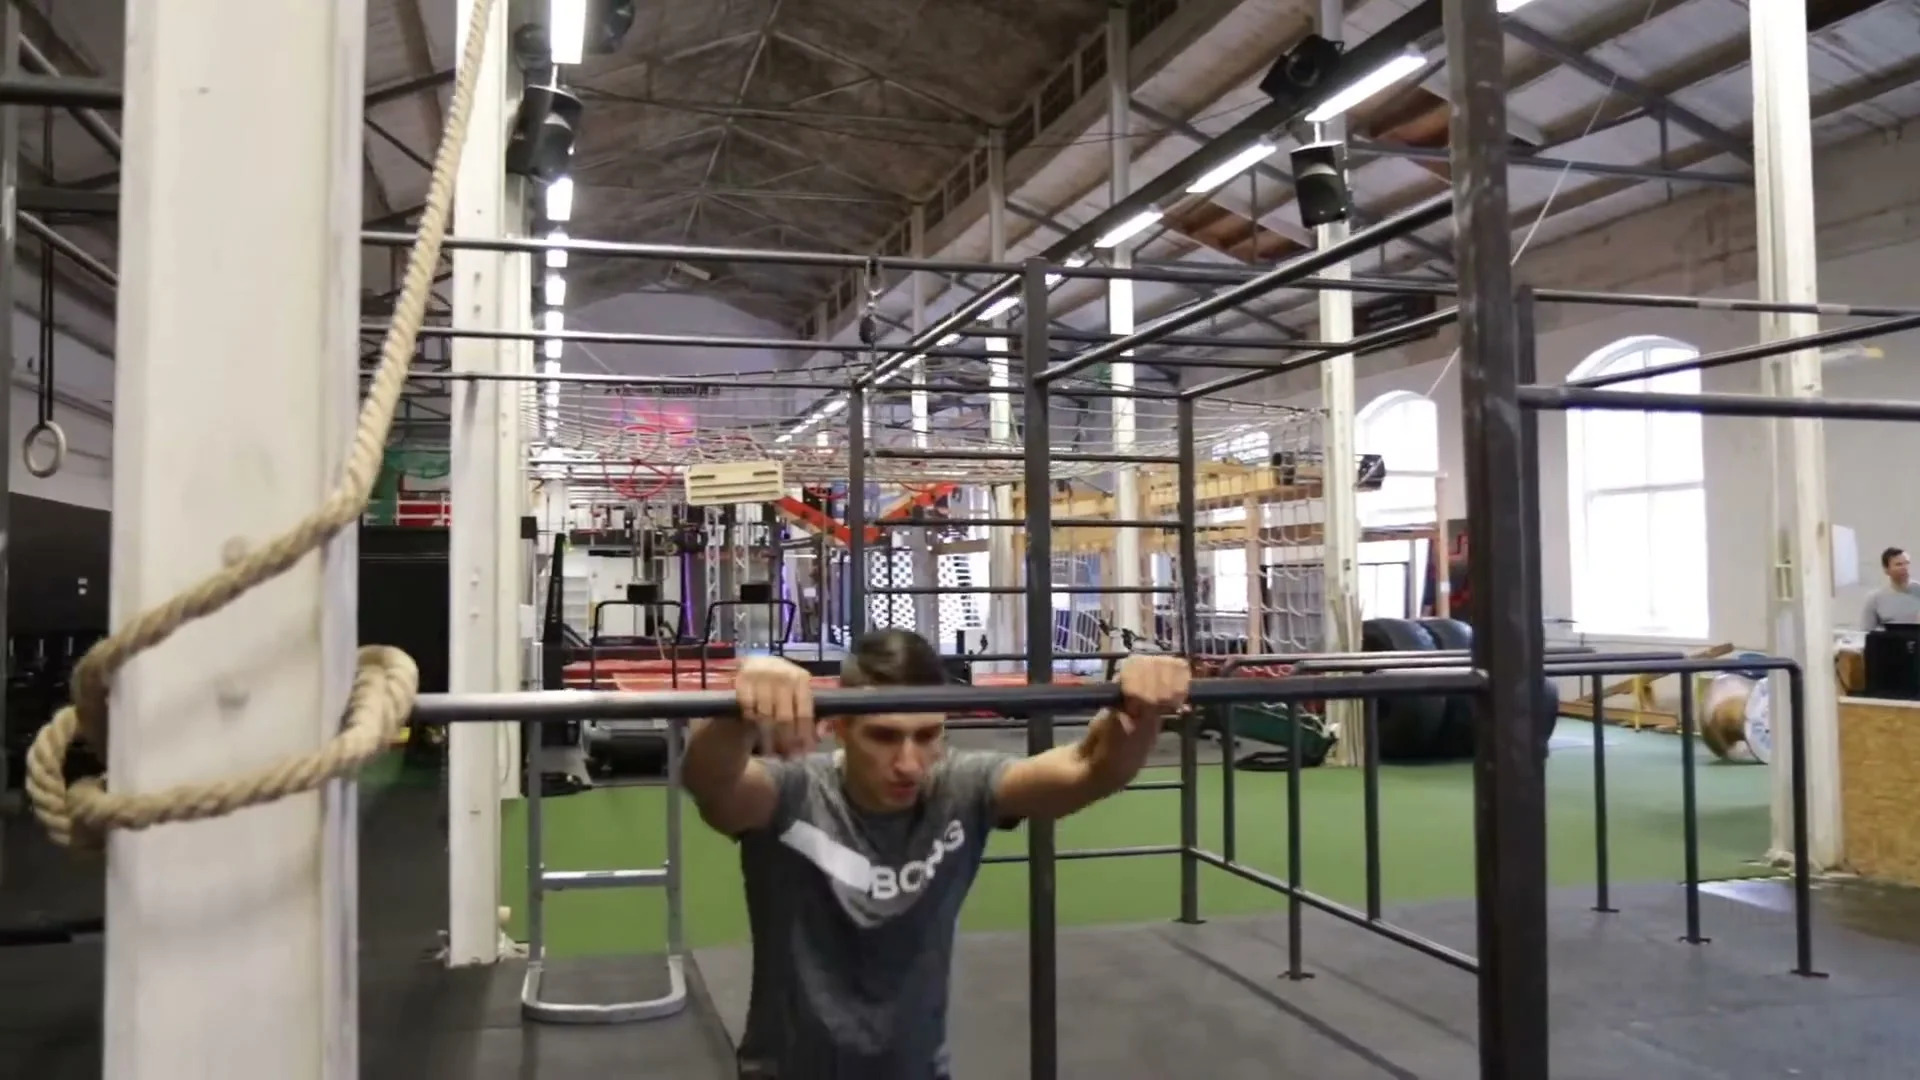
Before working through the steps, one technical detail matters more than anything else: the grip.
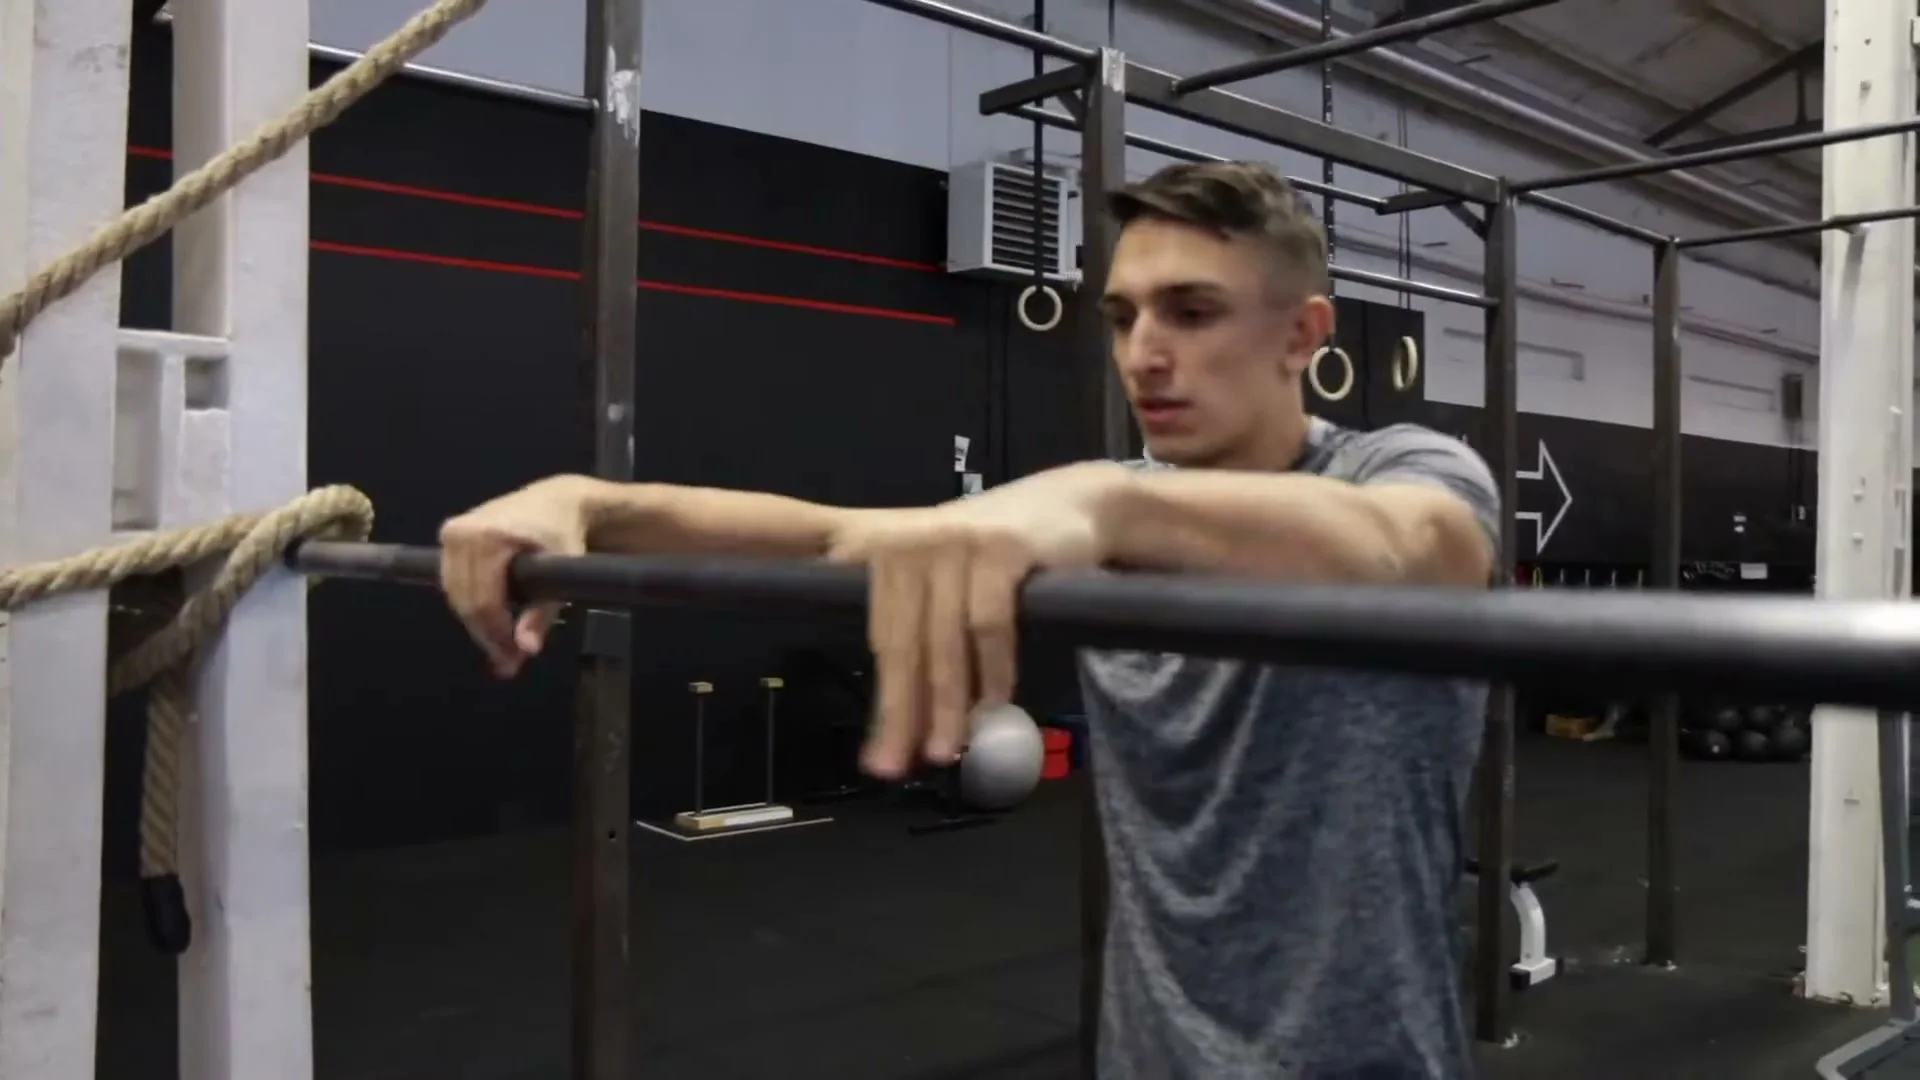
Keep your thumbs around the bar, not over it. A thumbs-over grip makes it significantly easier to slip on landing. Your thumbs wrap underneath and close around the bar. Your hands should sit just outside your hips, not wider. This grip is what keeps your landing on the bar stable when your feet make contact.
The other key point is landing on the middle of the foot. When you jump onto the bar, aim to land with the middle of the foot on the bar, not the toes. Landing on the toes reduces the surface area and makes the balance less stable.
Progression: How to Jump on the Bar in 4 Steps
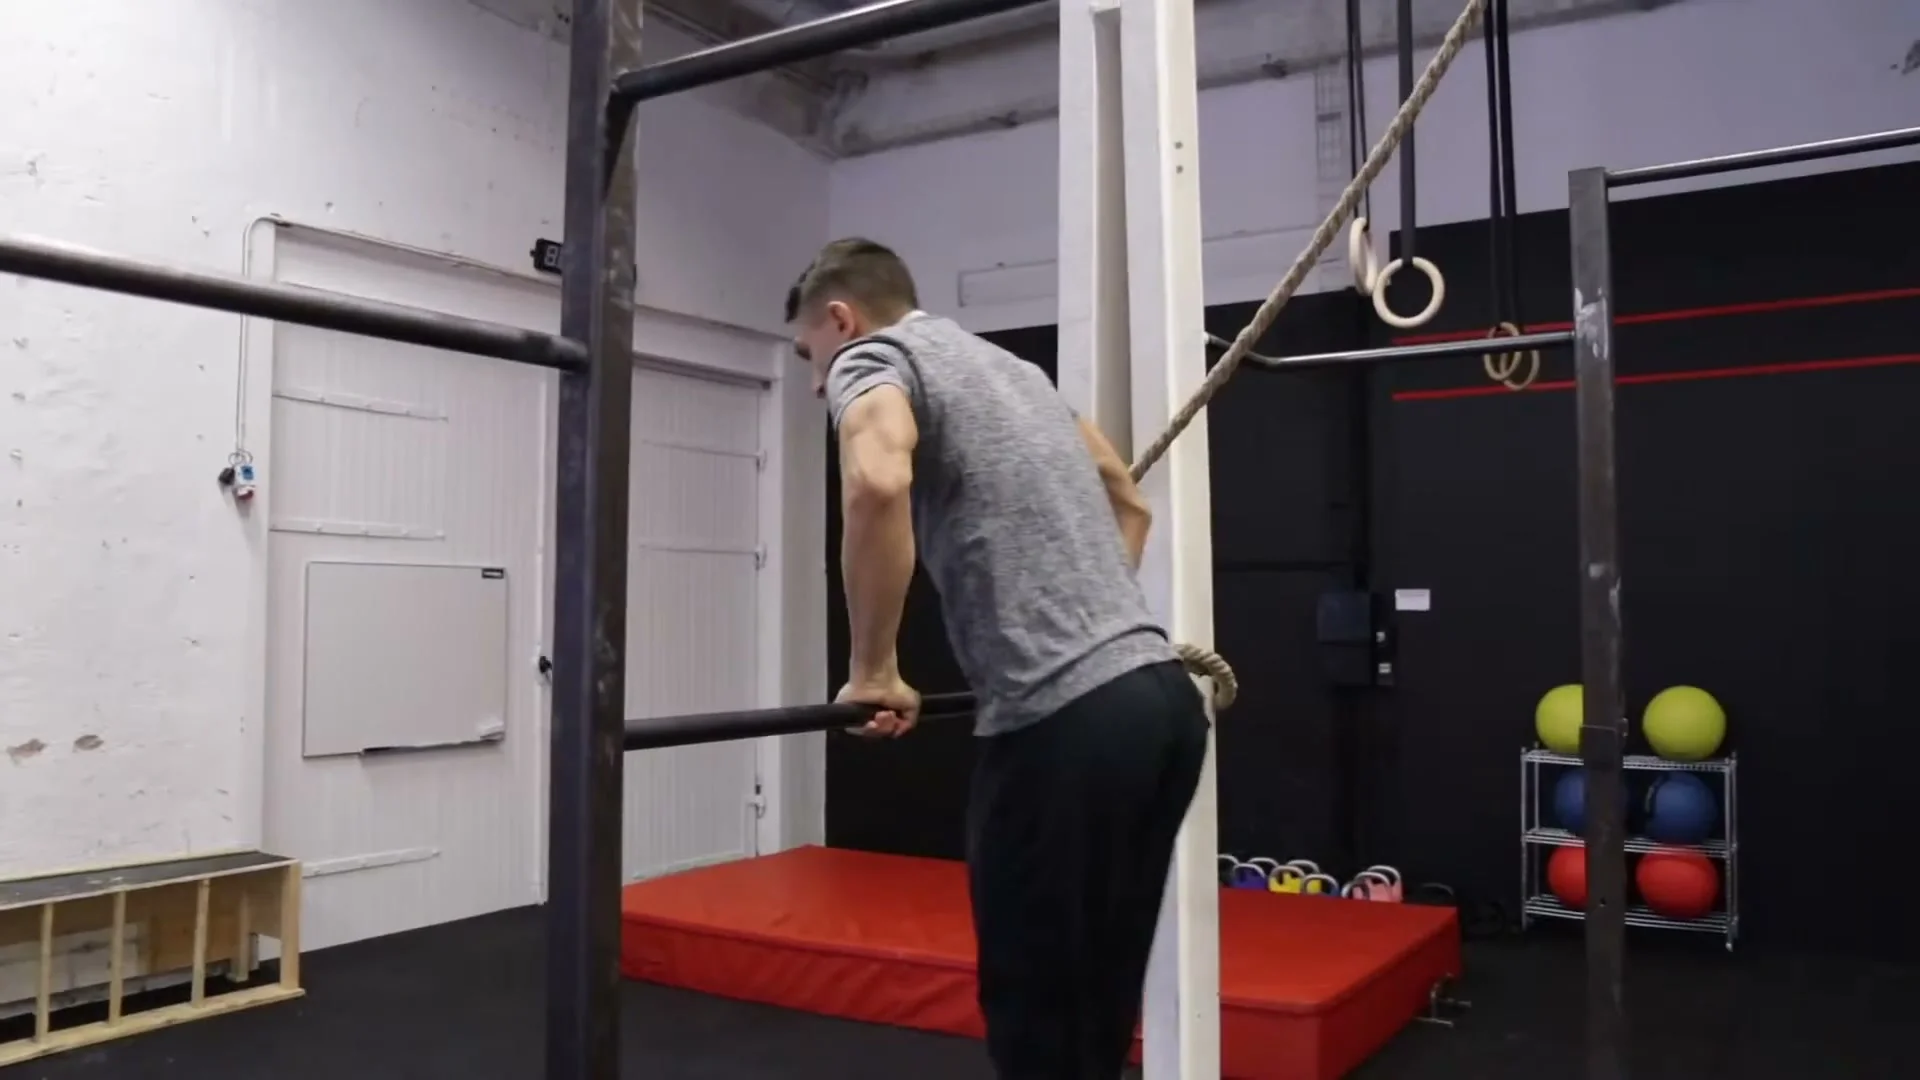
Start on a low bar where your feet are close to the ground. This reduces the consequence of a mistake and lets you focus on the movement without the psychological pressure of height.
Step 1: Low Bar Momentum Drill
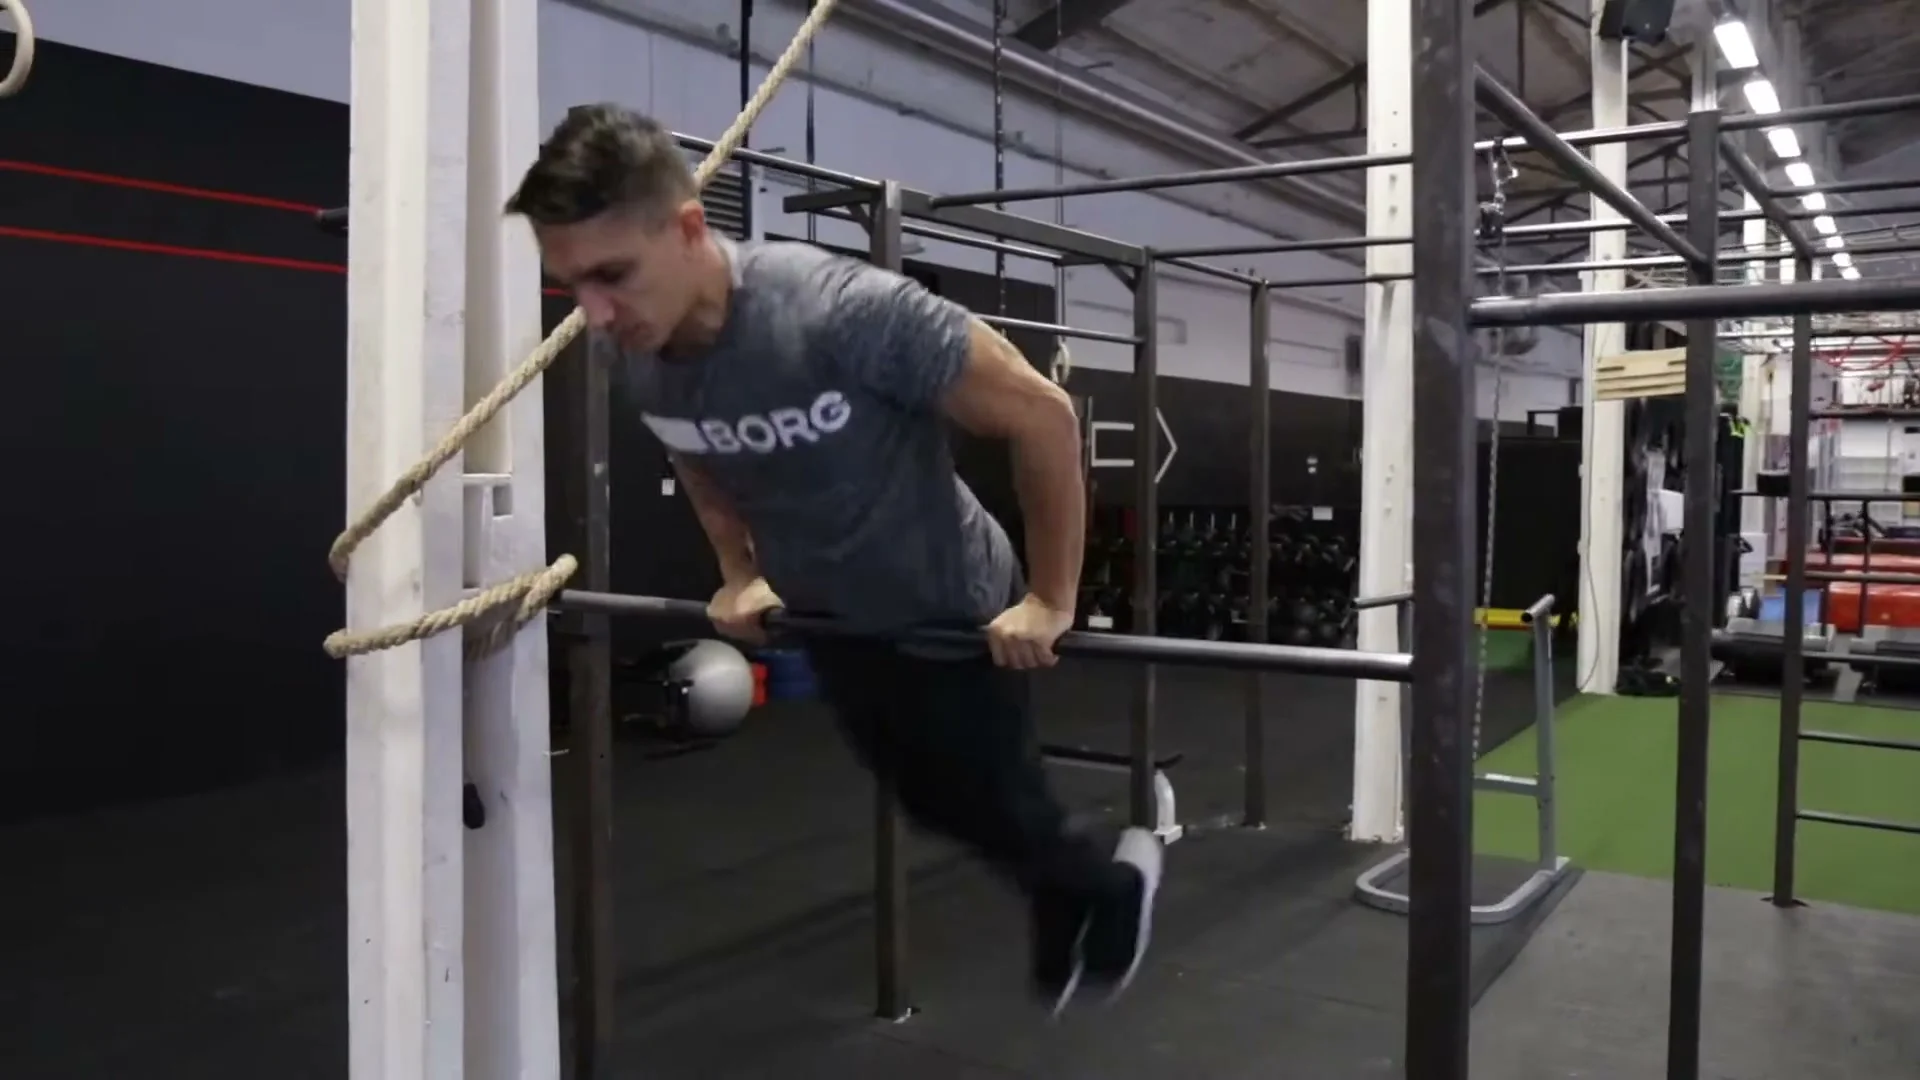
Jump up to the low bar and hold on. Lean forward and bring both legs in front of the bar. Then swing them back and push your hips up so your body is horizontal above the bar with hips in the air. Tuck your knees slightly toward your chest and land your feet softly back on the bar. Then jump back down.
This drill builds your sense of the power needed to get horizontal above the bar and teaches you how to control the landing. Repeat it until the motion feels familiar and you can land softly without gripping the bar harder to compensate. The goal is control, not speed.
Key Takeaway
Step 2: One Leg on the Bar
Jump up and place one foot on the bar while keeping both hands gripping it. Stand on that one leg for a second, feel the balance, then jump back down. Repeat this with the other leg.
This step does two things. It introduces the feeling of having a foot on the bar at height, which is the sensation the full movement requires. It also lets you feel the landing position and the balance point before removing the safety of the bar grip. Practice with both legs until both feel equally stable.
Step 3: One Leg, Let Go of the Bar
Repeat step 2, but this time release the bar at the same time your foot lands. You are momentarily standing on one leg on the bar with no hands on it, then jumping back down.
This is a confidence drill. The sensation of releasing the bar while your foot is on it is what the full movement requires, just with both legs. It is brief and low-commitment, but it teaches the nervous system that releasing the bar while on it is safe and controllable.
Step 4: Both Legs, Touch and Jump Down
Jump up with both legs and land both feet on the bar at the same time. Do not try to stand tall yet. Simply land both feet on the bar and immediately jump back down. Focus on landing the middle of the foot on the bar, not the toes, and on landing both feet simultaneously.
This step builds the bilateral landing pattern. It is a different coordination from one-leg entries and needs its own practice before you add the standing component. When both feet land consistently and cleanly, move to the final step.
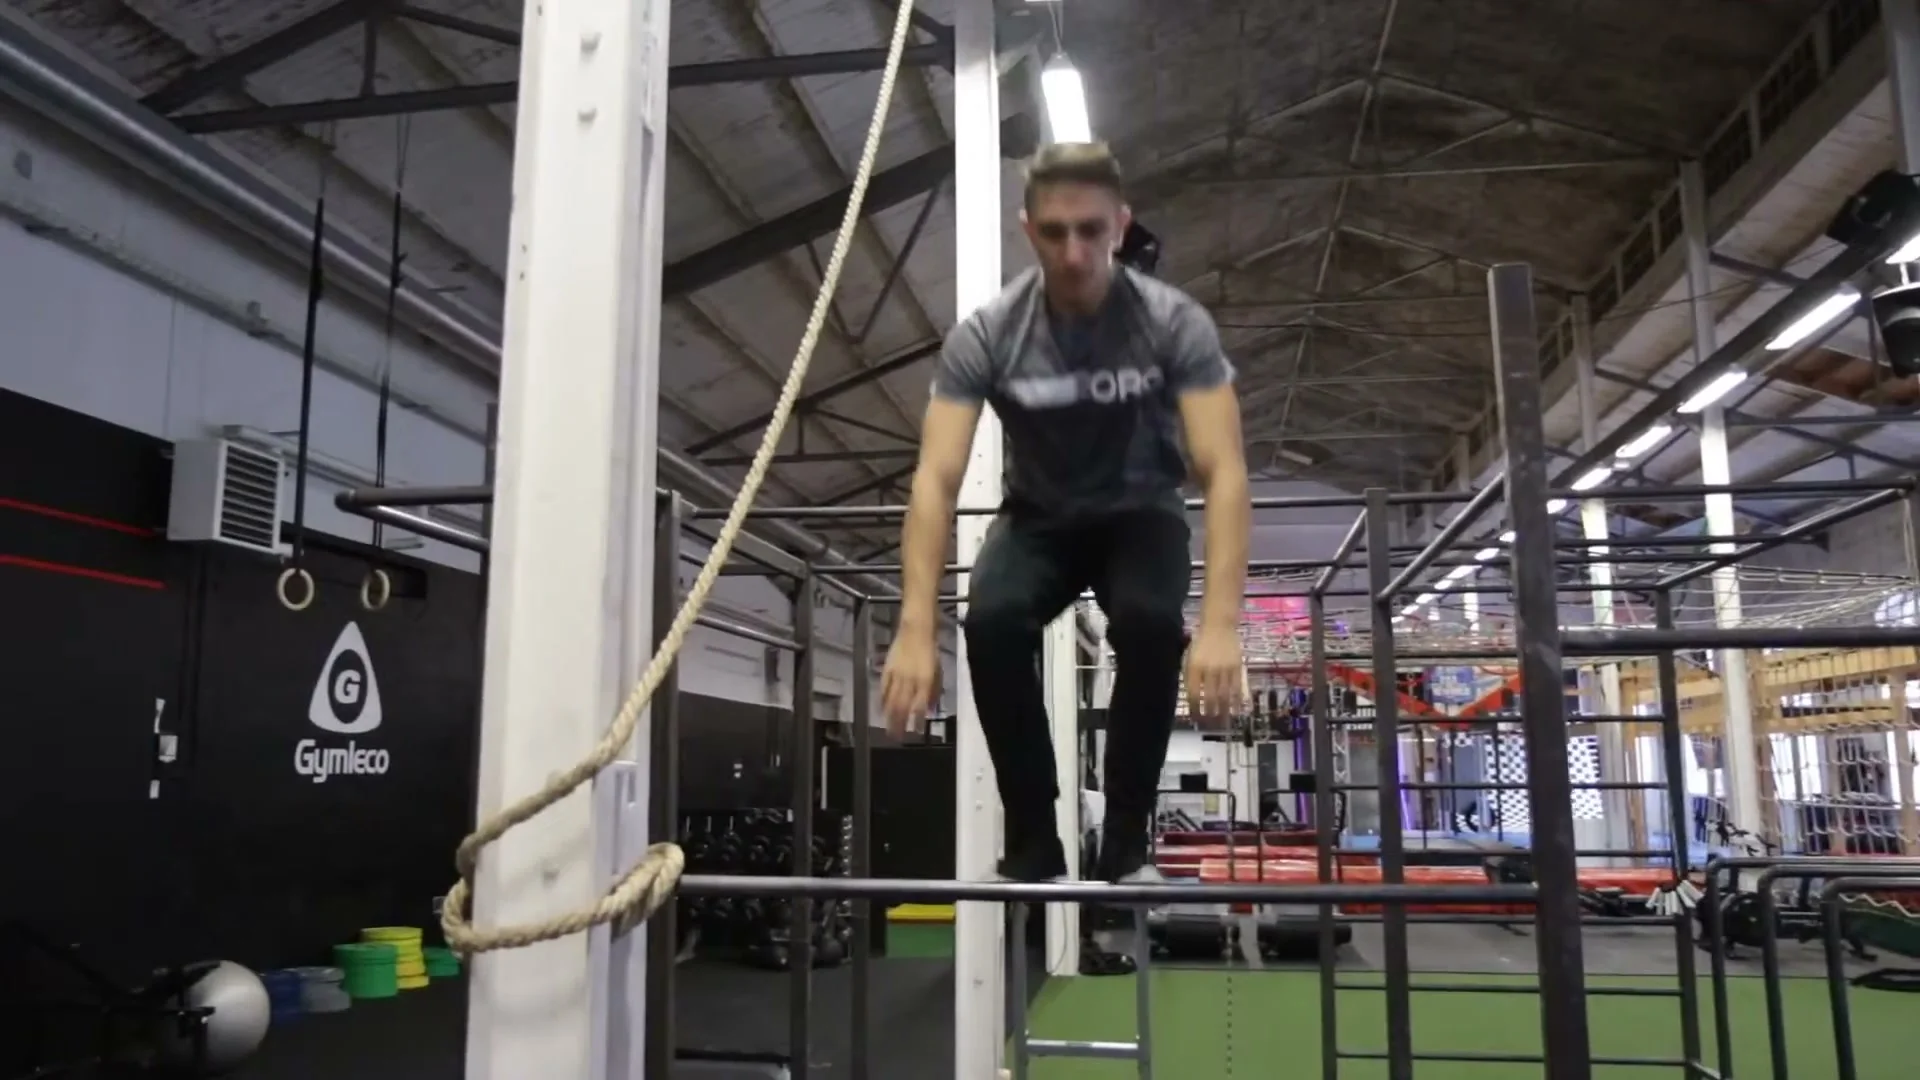
Step 5: Jump Up and Stand Tall
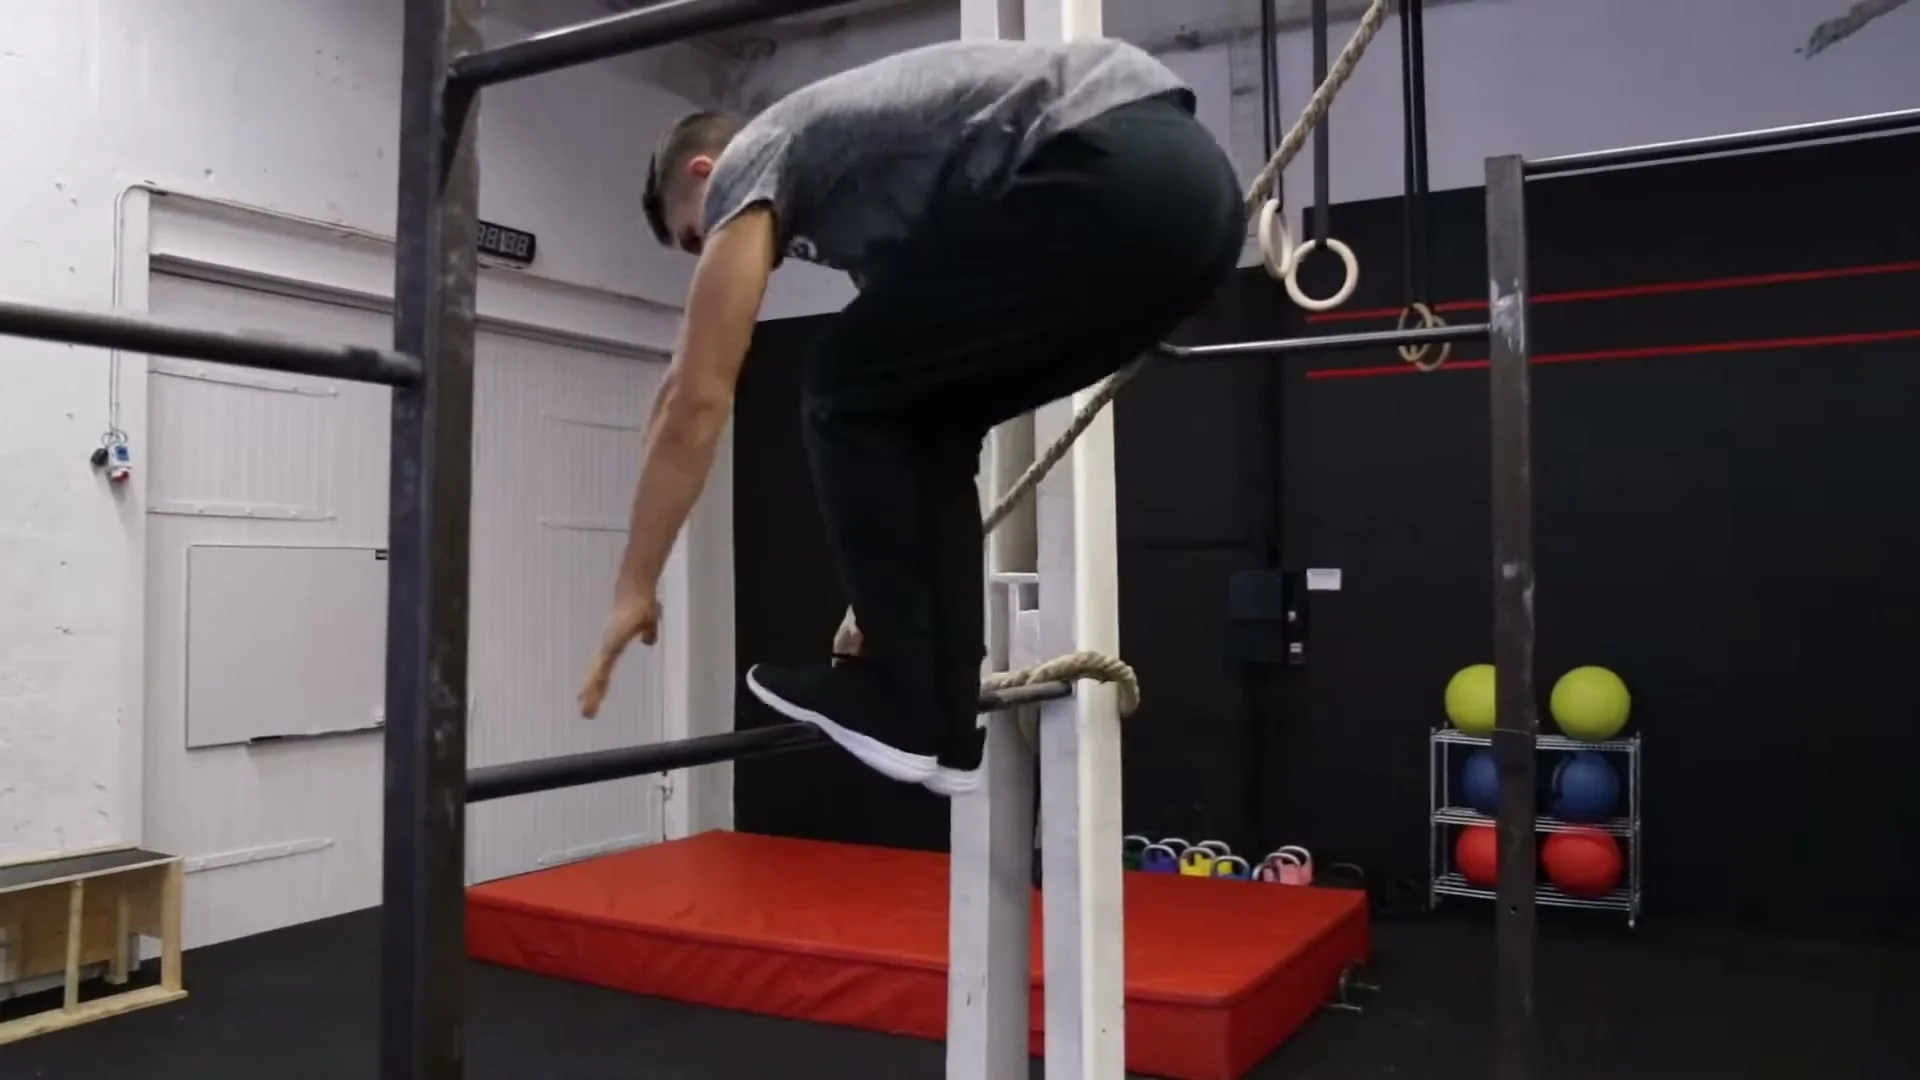
Create power with your legs and arms, jump up, and land both feet on the bar. This time, straighten out fully and stand upright on the bar. Hold for a moment, then jump back down by bending your knees and grabbing the bar on the way down.
The jump down is just as important as the jump up. Bending the knees when you jump down and reaching for the bar controls the descent and prevents a hard landing. Do not jump straight down without grabbing the bar on the way.
Once the movement is consistent on a low bar, take it to the high bar. The mechanics are identical. The main difference is psychological. The height adds pressure at the moment of landing, which is where hesitation happens. Trust the steps you have built and commit to the landing.
Common Mistakes
Thumbs Over the Bar
Placing the thumbs over the top of the bar instead of around it reduces grip security on landing. The thumbs-around grip is non-negotiable for this skill. Check it every time before attempting the jump.
Landing on the Toes
Toe landings on the bar are unstable. The ball of the foot has less contact surface and makes the balance harder to maintain at the top. Practice specifically landing the middle of the foot and focus on that cue in every rep of step 4 and step 5.
Jumping Down Without Grabbing the Bar
Jumping back down to the ground without reaching for the bar removes the control from the descent. Bending the knees and grabbing the bar on the way down slows the landing and keeps the movement controlled. This is especially important on the high bar where the drop height is significant.
Skipping the One-Leg Steps
Steps 2 and 3 feel like minor drills but they build the landing confidence that step 5 requires. Athletes who skip them to go straight to both-leg attempts often find the landing feels unpredictable because they have not built the foot-on-bar sensation first.
Training Tips
Start every session on the low bar regardless of your current ability. A few reps of step 4 and step 5 on a low bar before moving to the high bar warms up the landing pattern and brings the coordination back before adding height.
When taking the skill to the high bar, allow yourself time at step 4 on the high bar before step 5. The touch-and-jump drill on the high bar builds confidence at the new height before committing to standing tall.
Film from the side to check foot placement. The difference between a middle-of-foot landing and a toe landing is hard to feel when you are focused on the balance. Video shows it clearly and makes it easy to correct.
Once the jump on the bar is stable, it connects naturally into bar stand combinations: jump on, press to a handstand, or jump on and swing into the next move. The foundation of the jump on the bar supports a wide range of freestyle skills that follow it.
Frequently Asked Questions About Jumping on the Bar
Is it dangerous to jump on a high bar?
It carries real risk if attempted without working through the progressions first. On a high bar, a missed landing can result in a fall from significant height. Working through steps 1 to 4 on a low bar before moving to the high bar removes most of the risk because the movement pattern is already established.
Do I need chalk for this skill?
Chalk helps by improving grip security on the landing, which is the moment of highest load. It is not strictly required on lower bars, but on a high bar where a slip has more serious consequences, chalk is worth using.
How high does the bar need to be for this skill?
The bar height does not change the technique, only the consequence of a mistake. The skill can be learned on any bar high enough to stand on, typically a bar between 150 cm and 220 cm off the ground. Start at the lower end of that range and work up.
What is the correct way to jump down from the bar?
Bend your knees slightly, jump forward and slightly downward, and reach for the bar with both hands on the way down. Grabbing the bar slows the descent and lets you land under control rather than free-falling to the ground. Do not jump straight down without the grab.
Can I practice this at home?
Yes, if you have access to a doorframe pull-up bar or any bar at a suitable height. The doorframe pull-up bar is typically not tall enough to stand on, but a bar attached to a squat rack or a garden bar at the right height works. Outdoor calisthenics parks with bars of varying heights are the most useful practice environment.
How long does it take to learn the jump on the bar?
Most athletes can do a consistent low-bar version within one to two sessions. Moving to the high bar comfortably typically takes one to three more sessions, depending on how much time is spent on the confidence drills in steps 2 and 3. The skill is relatively quick to learn compared to most freestyle moves.
Daniel Flefil
Calisthenics coach with 11 years of experience, co-founder of Calixpert, and organizer of Beast of the Barz, one of the world's largest calisthenics competitions. Based in Stockholm. I write about training, equipment, and everything that goes into building a serious calisthenics practice.
More about Daniel →