Daniel Flefil
March 23, 2019 · 7 min read
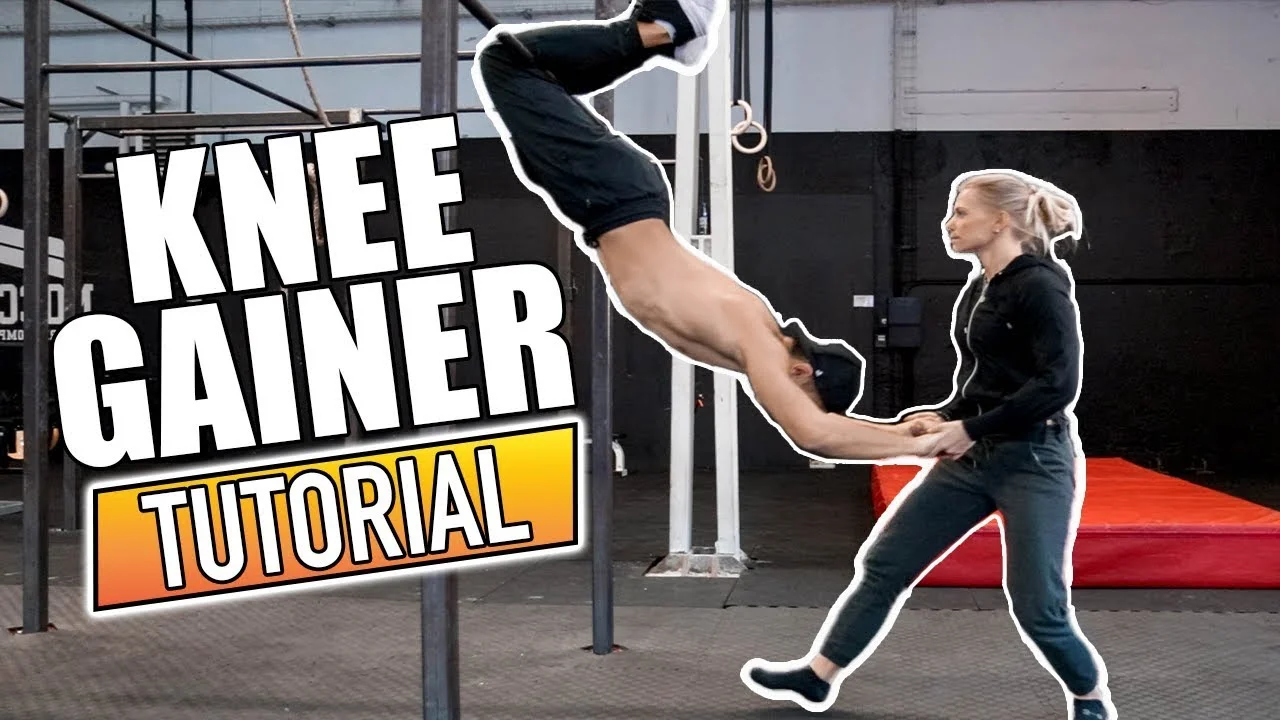
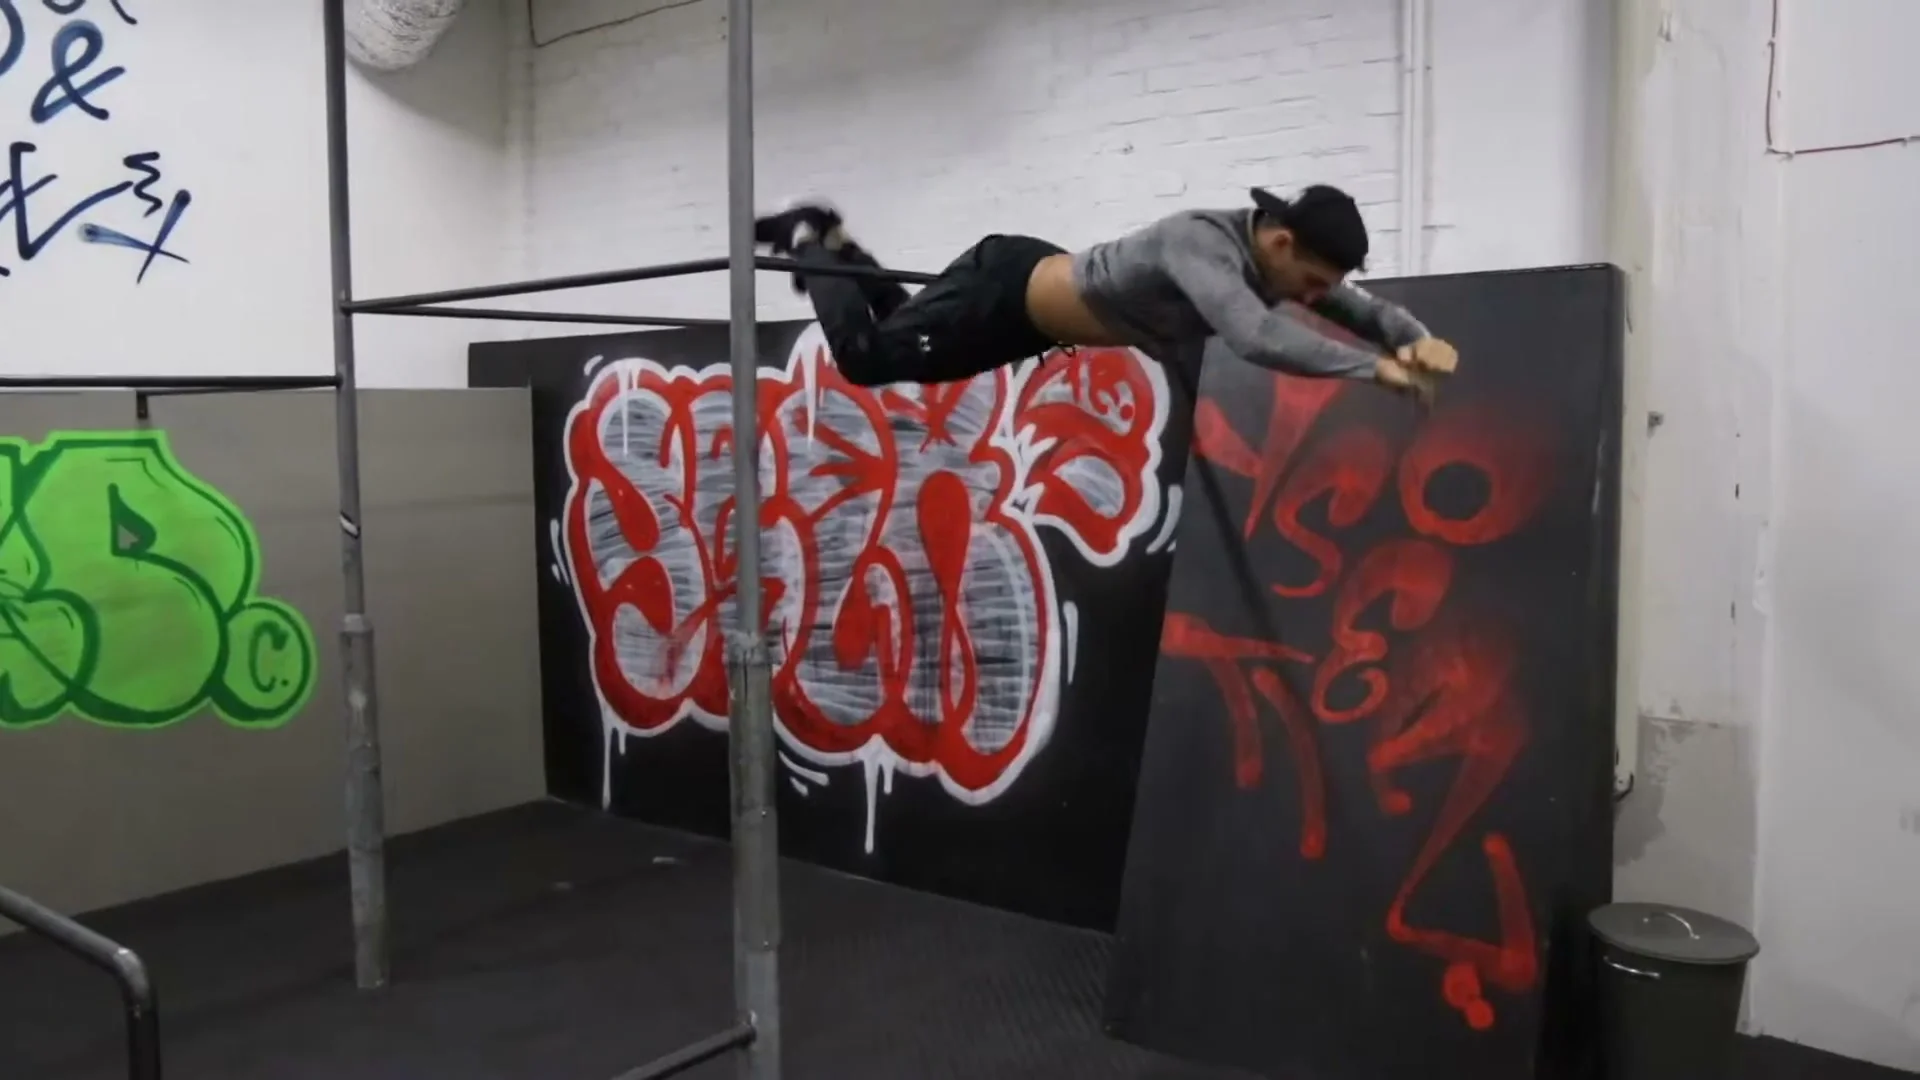
The knee gainer is a bar dismount used in both street workout freestyle and parkour. You hang from the bar by your knees, build a swing, release at the right moment, and land on your feet behind you. It is one of the more approachable release moves in freestyle because the hanging knee position gives you a natural starting point for the rotation, and the swing required is less intense than skills like the swing gainer. That said, the first few attempts feel unfamiliar and the release point requires commitment. In this tutorial I cover all six progression steps, from the first knee hang to releasing from a full top position. By the end, you will have a clear framework to practice it safely, including which step to use a friend for and what to think about at the release point.
Watch the Full Tutorial
What Is the Knee Gainer?
The knee gainer is a bar dismount where the athlete hangs from the bar by the knees, builds a forward swing, and releases at the peak to land on their feet. The knees act as the pivot point on the bar throughout the movement. When released at the right moment, the body rotates forward and the athlete lands standing, typically a short distance in front of the bar.
The skill is beginner-friendly compared to most bar release moves. The knee hang is a stable and low-commitment starting position, and the swing required to release is achievable with basic core control. What makes it challenging is overcoming the mental block of releasing the bar from a position where you are hanging upside down by your knees. The progression steps below address that block directly.
The knee gainer appears in both street workout freestyle combinations and parkour practice. In freestyle, it works as a dismount from a series of bar moves. In parkour, it is used to exit a bar and transition to another surface.
Prerequisites and Safety Notes
Before starting, wear long pants. The knees rest directly on the bare bar during hanging and swinging, and repeated friction will cause skin abrasion without clothing protection. Long pants reduce this significantly.
Use crash mats under the bar when first learning. The release and landing steps carry real fall risk, especially steps 3 and 4, and a mat reduces the consequence of a wrong landing.
Start on a lower bar. A bar where your head clears the ground by 30 to 50 cm when hanging by the knees is ideal. This keeps the release height manageable while the technique is being established.
Specific standards before starting:
- Ability to hang from a bar by the knees and hold for 5 to 10 seconds
- Basic core control for creating a swing
Technique: Key Cues for the Knee Gainer
Two technical cues define the knee gainer. The first is the direction of thought at the release. When you release the bar, think about bringing your knees toward your chest, not your chest toward your knees. This subtle mental shift changes the rotation dynamic. Bringing knees to chest creates a faster, tighter rotation that lets you land on your feet. Reaching the chest forward does the opposite.
The second cue is to look forward when releasing the bar. Looking forward during the dismount gives you a visual reference for the landing and prevents you from landing forward on your knees or face. The forward head position also helps you identify the ground during the rotation.
Progression: Training the Knee Gainer in 6 Steps
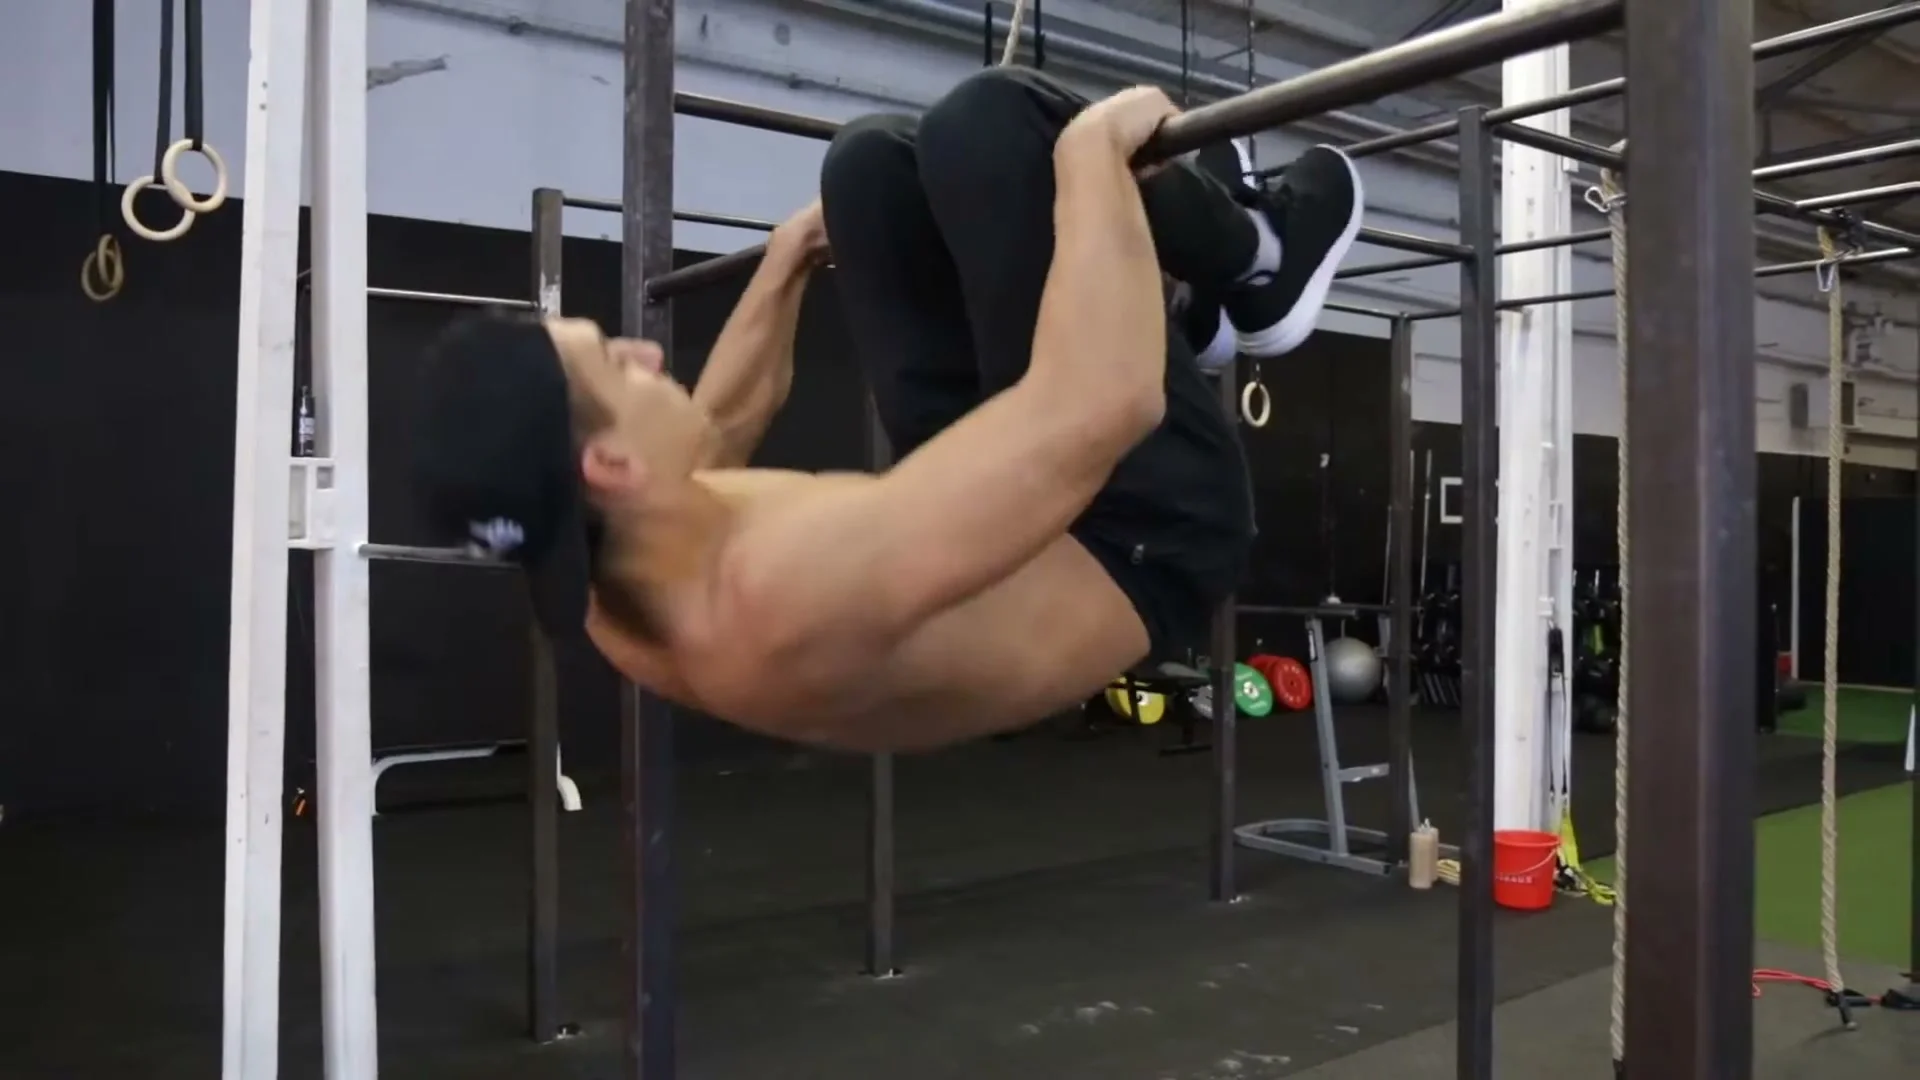
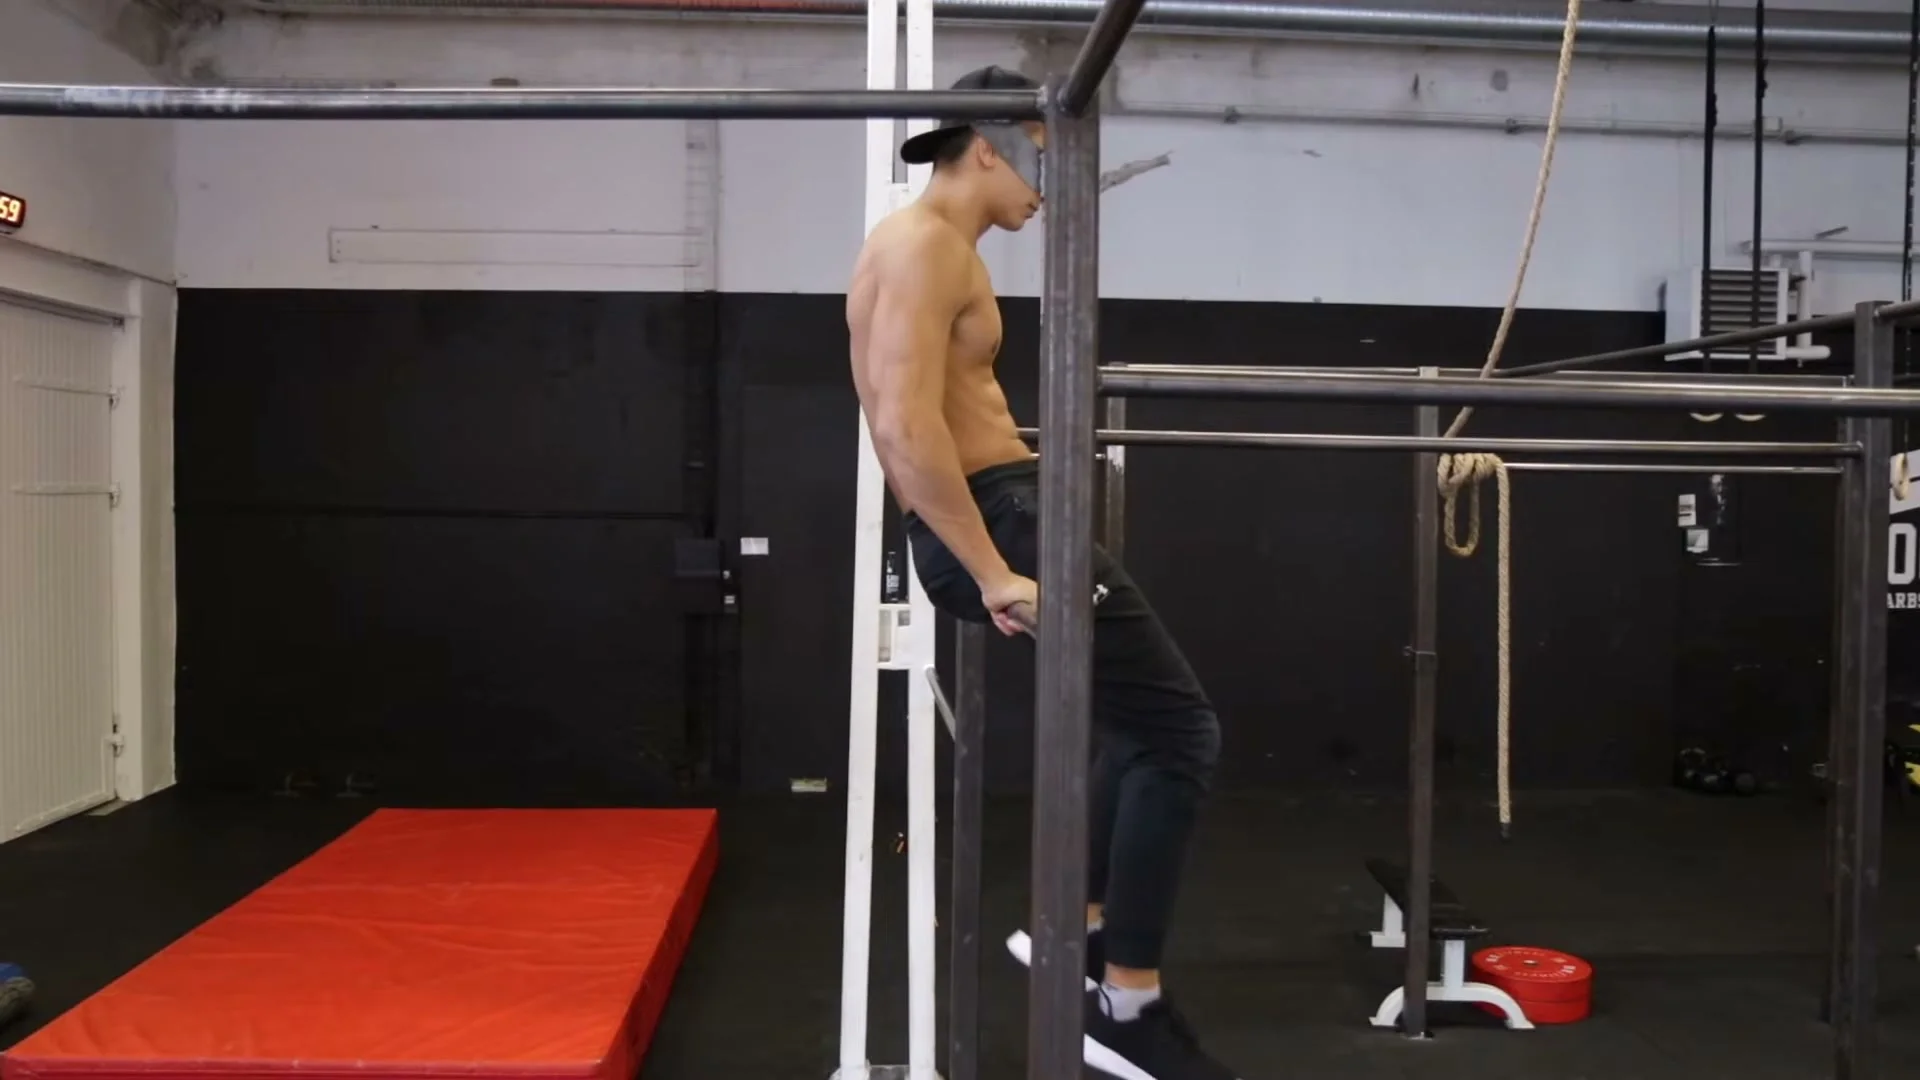
Step 1: Hang From the Bar by the Knees
Hang from the bar with your knees hooked over it and your body hanging straight down below. Your head should not touch the floor. Hold for 5 to 10 seconds. Get completely comfortable in this position before doing anything else. Then pull yourself back up to the bar and get down.
Key Takeaway
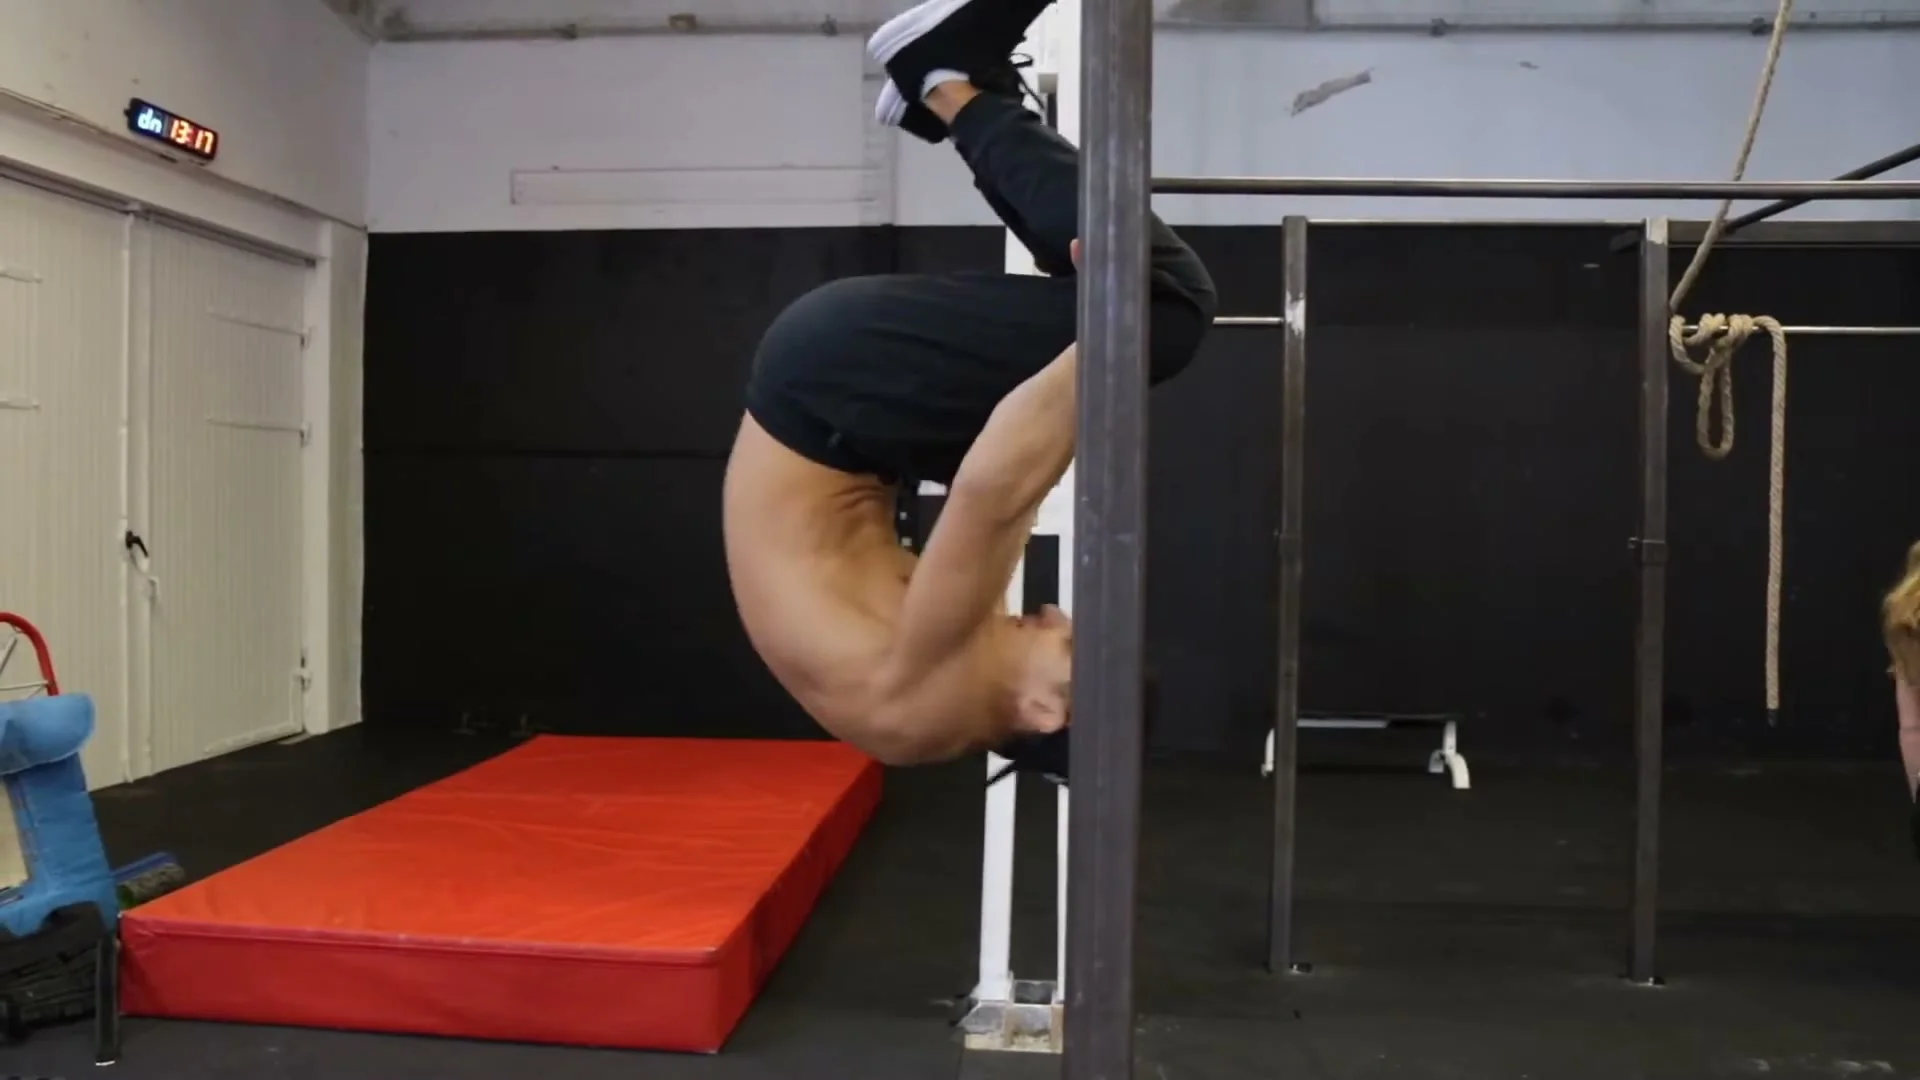
Step 2: Build a Swing
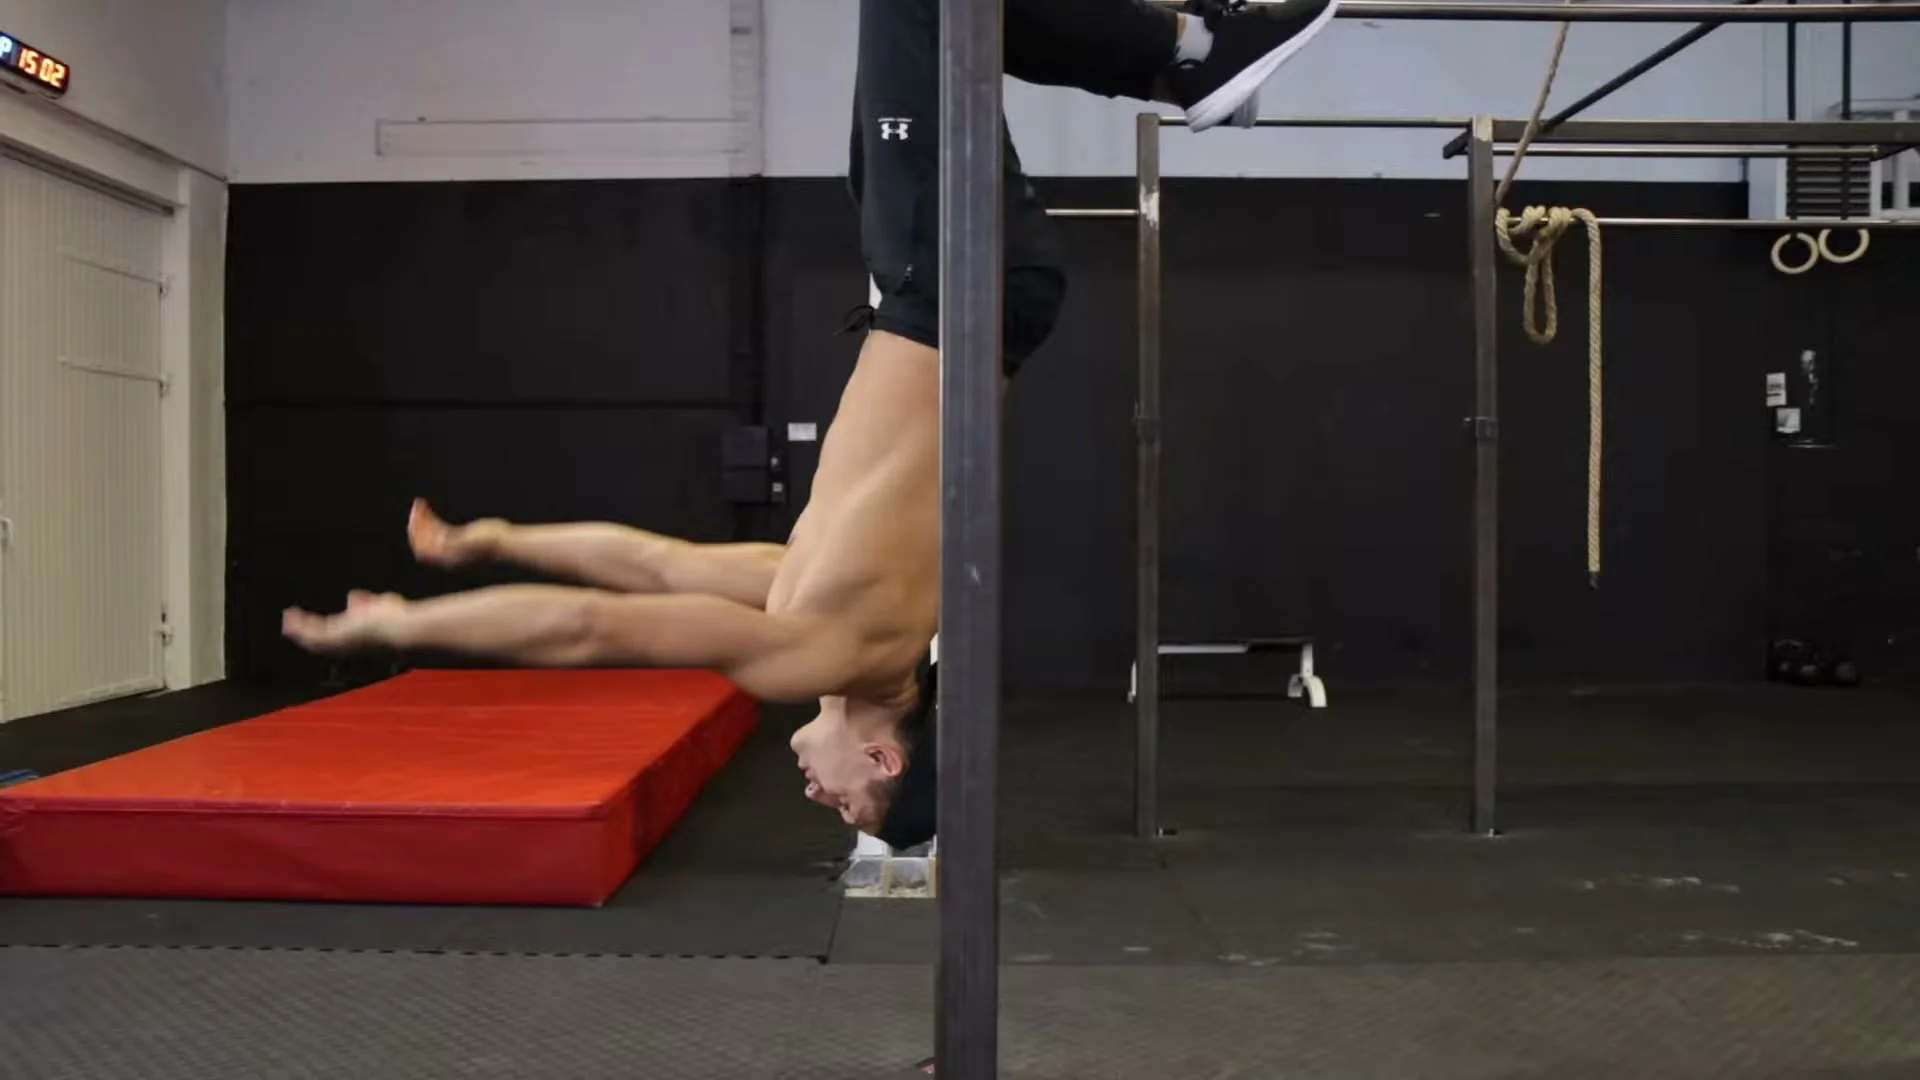
From the knee hang, start creating a swing. Pull your abs in and bring your hands straight forward as far as possible. Then relax the abs and arch the back slightly. This alternation between contraction and extension generates a pendulum motion. When you reach the forward peak of the swing on the other side, repeat the movement to build more swing.
This step is about learning to generate and control the swing from the knee hang. Practice until you can consistently reach a horizontal body position when swinging forward, with the body parallel to the ground at the peak of the swing. That peak position is where the release will eventually happen.
Step 3: Release With a Friend's Help
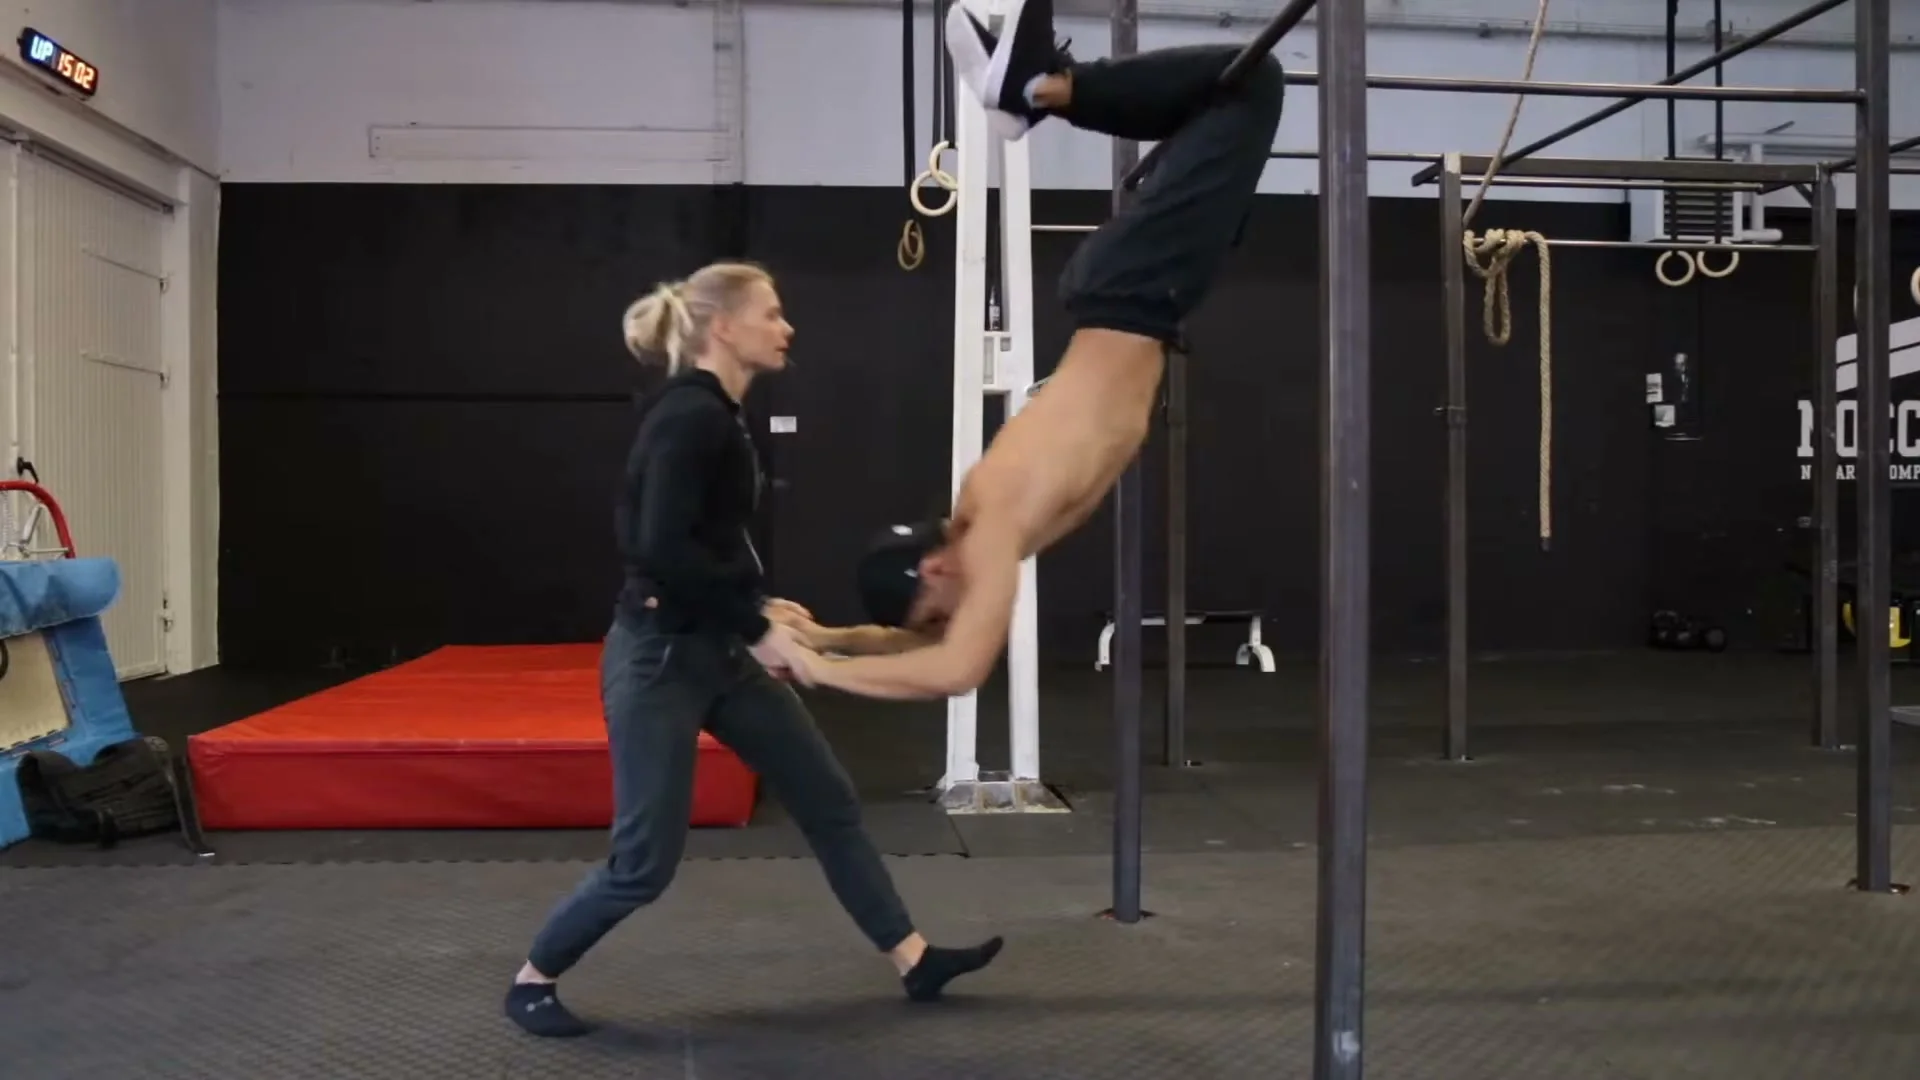
Have a friend grab your arms while you hang from the bar. Your friend will help you build the swing by pulling your arms. When your body reaches a nearly horizontal position toward your friend, release the bar and land on your feet. Your friend will pull your arms upward to give you more air time and prevent you from falling forward.
Always look forward when you release. The forward head position is what keeps your body oriented toward a foot landing rather than landing on the knees or falling face down.
If the swing is not quite enough for a good release, your friend can add extra pull to extend your air time. Do not skip this step to go directly to the solo release. The assisted version builds confidence at the moment of release, which is what the solo version requires.
Step 4: Solo Release From the Swing
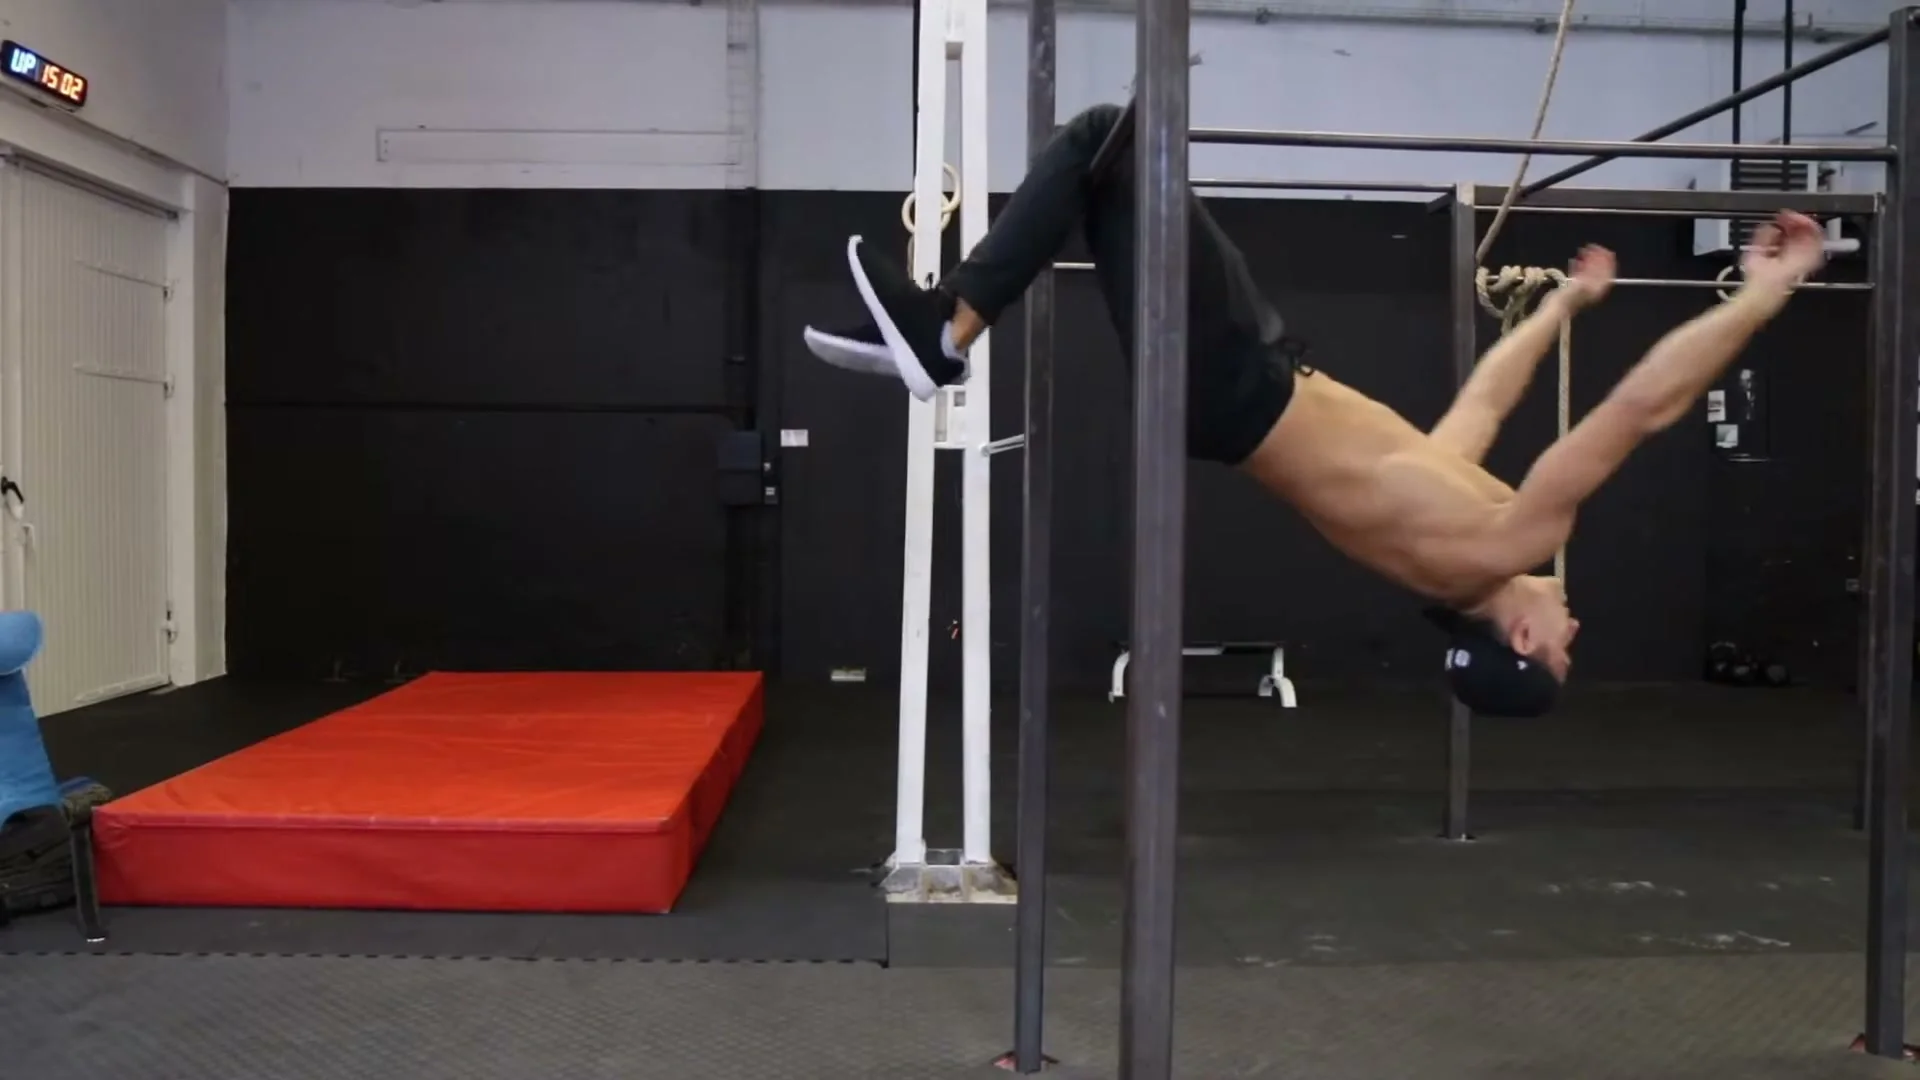
Build the swing on your own until your body is horizontal when swinging forward. At that peak, release the bar and focus on the key cue: bring your knees toward your chest, not your chest toward your knees. This creates a fast forward rotation and allows the feet to land under the body.
Look forward throughout the release and rotation. Do not look up or close your eyes. Seeing the ground during the rotation helps you time the opening of the rotation for the landing.
The first solo attempt will feel more intense than the assisted version. Trust the swing and the mental cue. If the rotation is not completing and you are landing short, the swing at release was not strong enough. Return to step 2 and build more swing height before trying again.
Step 5: Release From the Top Hanging Position
In this step, hang from the bar with both your knees and your arms gripping it. Build swing by pulling yourself up and then pushing yourself out. Straighten your upper body while still holding the bar. When you have built enough speed, release the bar with your hands in the highest position of the swing, straighten the hips, and let the rotation carry you to the landing.
The goal is to build high enough speed before releasing that you are nearly at the top of the arc when you let go. More height at release means more air time and more time to complete the rotation cleanly.
Step 6: Release From a Top Sitting Position
This is the most demanding step. From sitting on top of the bar, bring the bar to your knees first while keeping the upper body and arms straight upward. Push yourself backward, lock the knees on the bar, and send the arms straight up and then backward. Look backward with your head. Straighten the hips, let the swing build, then release.
The top position is the scariest part of the entire progression. The movement begins with you above the bar rather than below it, and the initial push backward goes against every instinct. When the technique is in place and the commitment is there, this step produces the most height and the most controlled rotation of all the progressions. Allow yourself time to overcome the mental block. Once this step clicks on a lower bar, take it to the high bar.
Common Mistakes
Not Building Enough Swing Before Releasing
Releasing before reaching horizontal means the rotation is incomplete and the landing will not be on the feet. Every release attempt should happen only at the peak of the swing when the body is near horizontal. If consistent height is not there, return to step 2 and build the swing quality before adding the release.
Releasing by Reaching the Chest Forward
Reaching the chest forward at the release instead of pulling the knees back slows the rotation and often results in a short landing or landing on the knees. Repeat the mental cue: knees to chest, not chest to knees.
Looking Up During the Release
Looking up during the rotation removes your visual reference for the ground and makes it impossible to time the landing correctly. Keep the head looking forward throughout the entire movement.
Skipping the Partner-Assisted Step
Step 3 with a friend is not just a convenience. It is the step that establishes the release timing and the mental comfort with letting go at the correct moment. Athletes who skip it and attempt the solo release often hesitate at the wrong moment and stall the rotation.
Training Tips
Wear long pants on every session where knee hangs and swings are involved. The bar friction on bare knees is significant over repeated reps, and skin abrasion adds unnecessary discomfort that affects concentration during practice.
Use mats for all release attempts until the landing is consistent. Once you can land on your feet reliably from step 4, the mat becomes optional. Steps 5 and 6 deserve the mat longer than the earlier steps because the release height is greater.
Practice steps 1 and 2 in every session as a warmup for the later steps. The swing quality from step 2 directly determines the quality of the release in steps 3 through 6. Building a strong, high swing before attempting any release is the foundation.
Do not rush from step 4 to step 5. Step 4 solo requires consistent, controlled landings before step 5 is appropriate. If step 4 is still uncertain, adding the complexity of the top hanging position makes the skill harder, not easier.
Frequently Asked Questions About the Knee Gainer
Why do I need long pants for the knee gainer?
The knees rest directly on the bar during the hang and the swing. Without clothing, the metal bar causes friction burns and skin abrasion after only a few repetitions. Long pants provide a fabric layer between the skin and the bar that eliminates this problem. This also applies during learning sessions with repeated attempts.
Is the knee gainer safe for beginners?
It is beginner-friendly compared to most release moves, but it requires following the progression steps. Attempting the solo release without working through the swing-building and partner-assisted steps first makes it significantly less safe. With proper progression and crash mats, the risk is manageable.
What is the difference between the knee gainer and the swing gainer?
The swing gainer starts from a standard bar hang and uses a leg kick to generate the release momentum. The knee gainer starts from a knee hang and uses the swing from that inverted position to generate the release. The knee gainer is generally considered easier to learn because the starting position gives natural rotation momentum, while the swing gainer depends more on timing the kick and release precisely.
Do I need crash mats to learn the knee gainer?
Mats are strongly recommended for steps 3 through 6. If mats are not available, practice on a soft surface like grass rather than concrete. The landing from a partial or incomplete rotation on a hard surface is the primary injury risk for this skill.
How long does it take to learn the knee gainer?
Most athletes can reach a controlled solo release in step 4 within two to four sessions once the swing and partner-assisted steps are solid. Steps 5 and 6 take longer because they require more height and more confidence with the release position. The full progression from step 1 to step 6 typically takes two to six weeks.
Can the knee gainer be practiced indoors?
Yes, with a bar of appropriate height. A doorframe pull-up bar is typically not suitable because the bar is close to the wall and ceiling. A pull-up rig or squat rack with a high bar attachment in a gym gives enough clearance. Outdoor calisthenics parks with high bars are the most common training environment for this skill.
Daniel Flefil
Calisthenics coach with 11 years of experience, co-founder of Calixpert, and organizer of Beast of the Barz, one of the world's largest calisthenics competitions. Based in Stockholm. I write about training, equipment, and everything that goes into building a serious calisthenics practice.
More about Daniel →